To draw barn quilt patterns, you will need a graph, paper, a Pencil, a Ruler, an Eraser, Colored pencils, or markers (optional). You can refer to my instructions below.
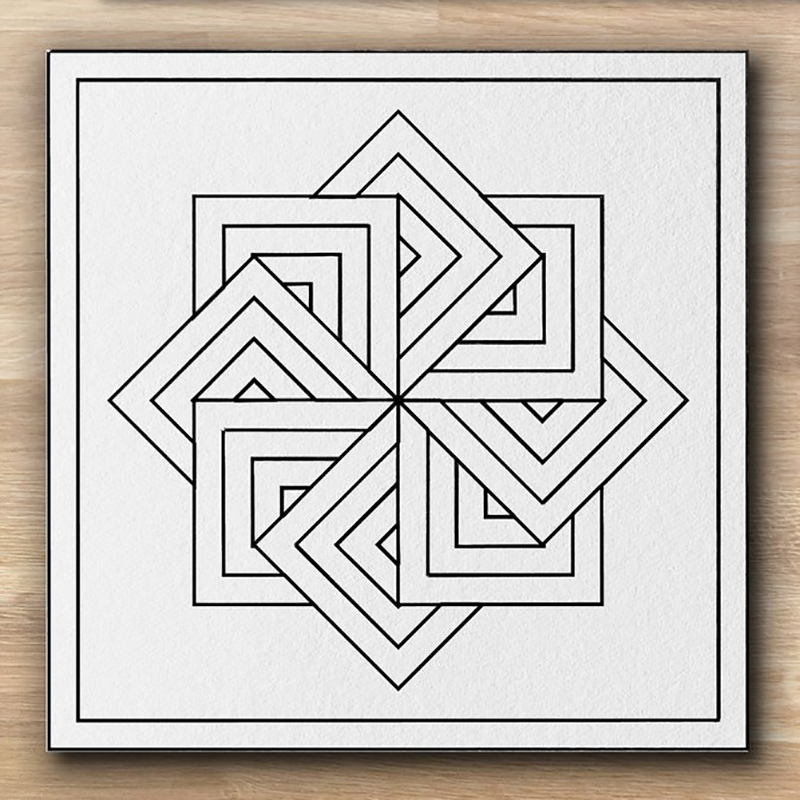
Step 1: Choose a Barn Quilt Pattern
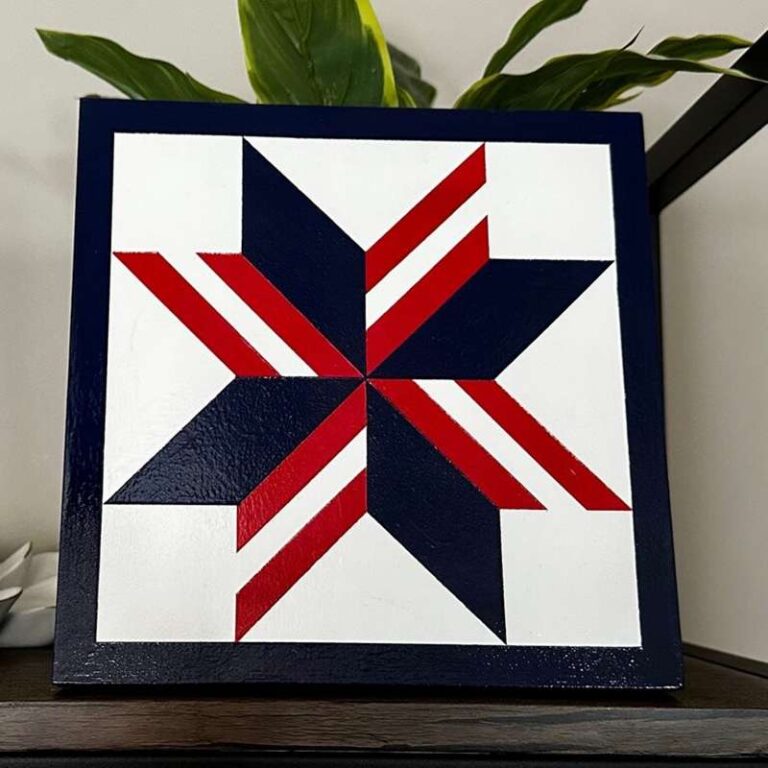
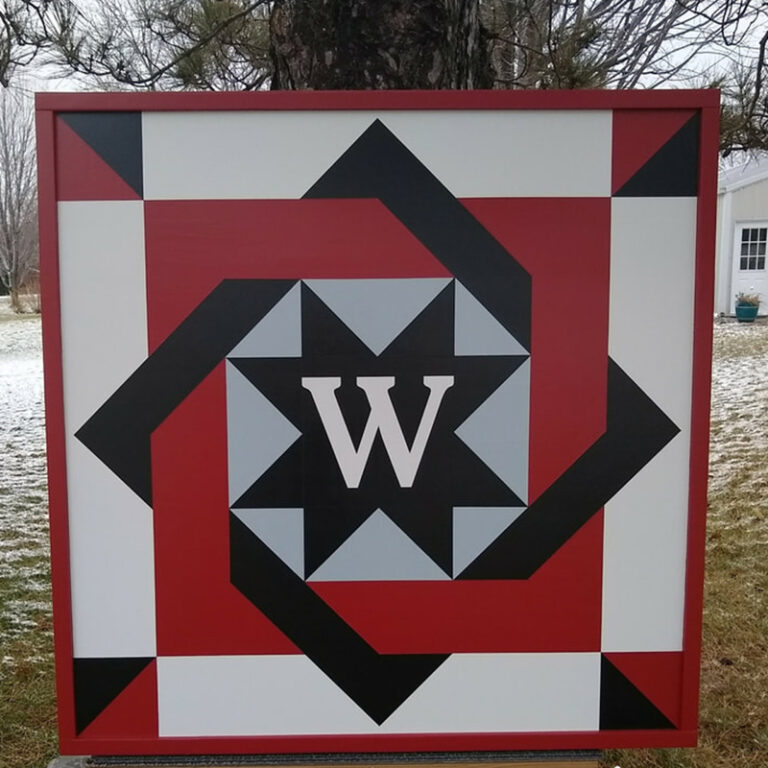
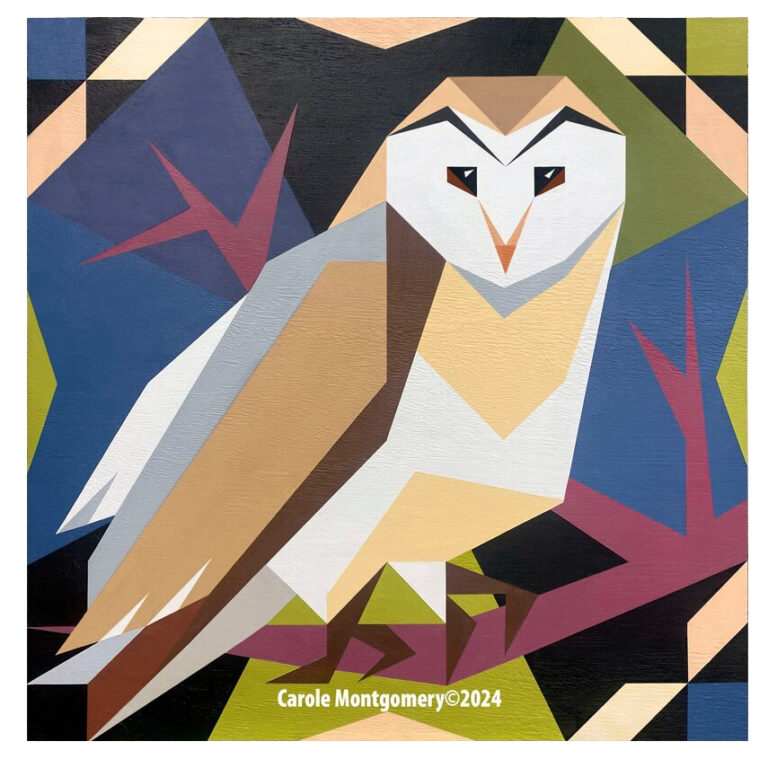
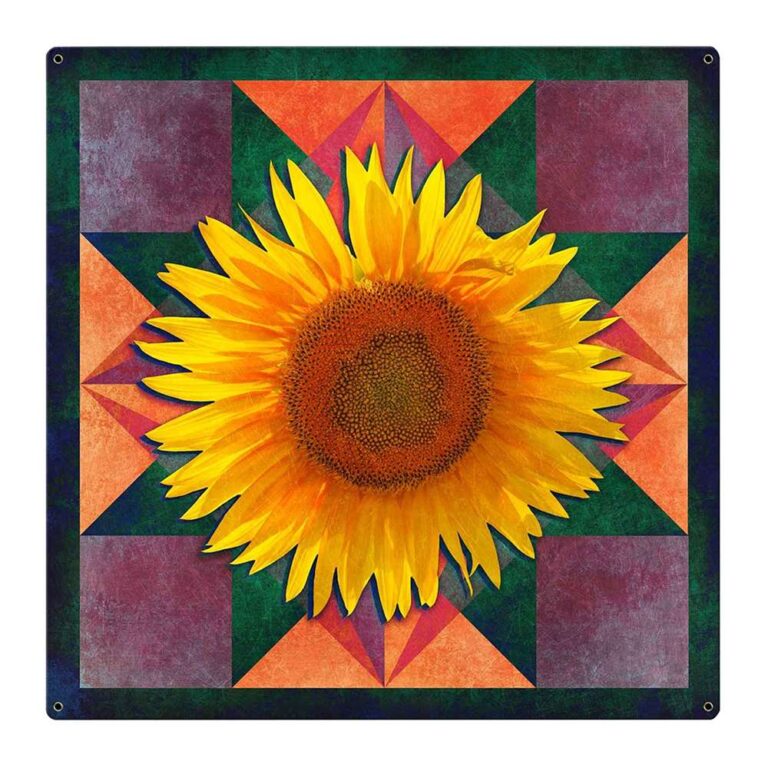
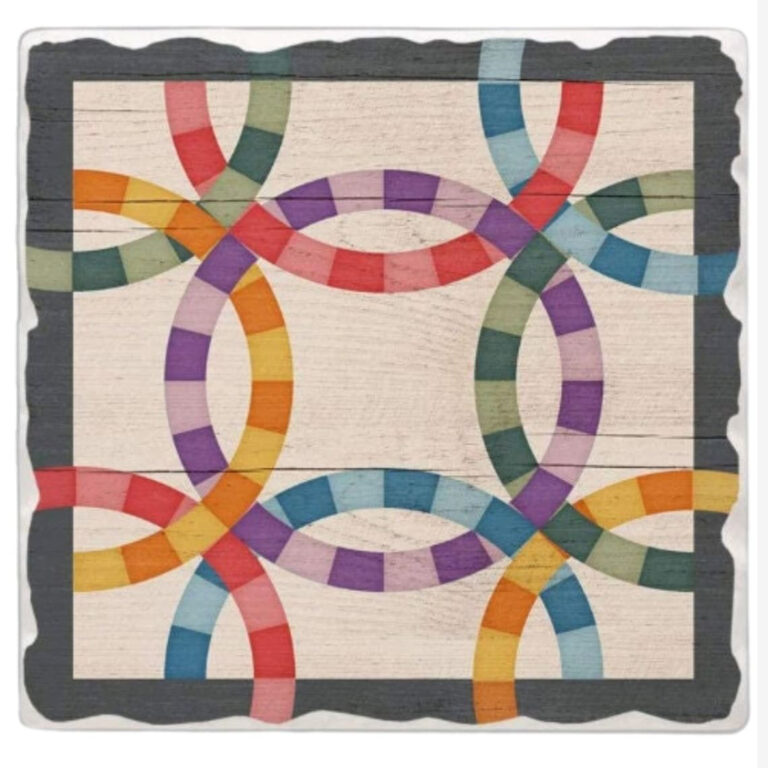
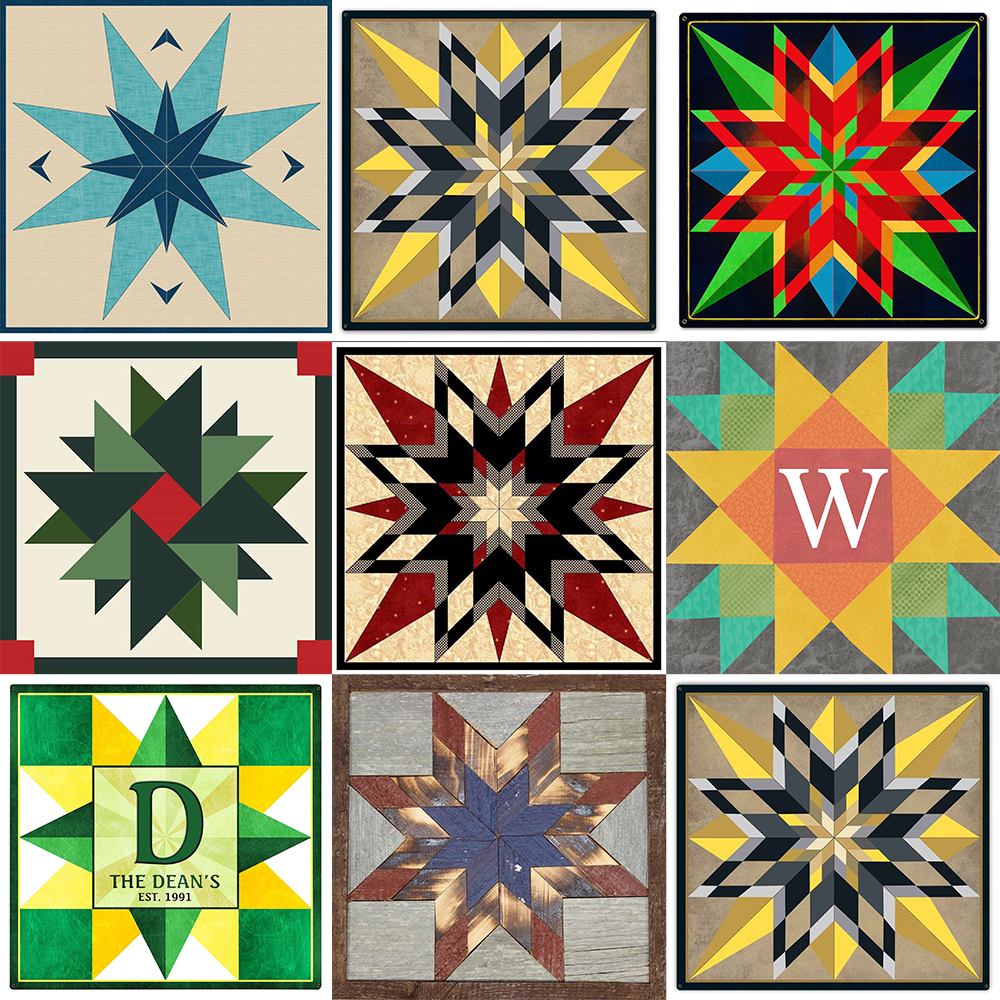
Choose a barn quilt pattern. Many free patterns are available online and in quilting books.
Step 2: Use Grids
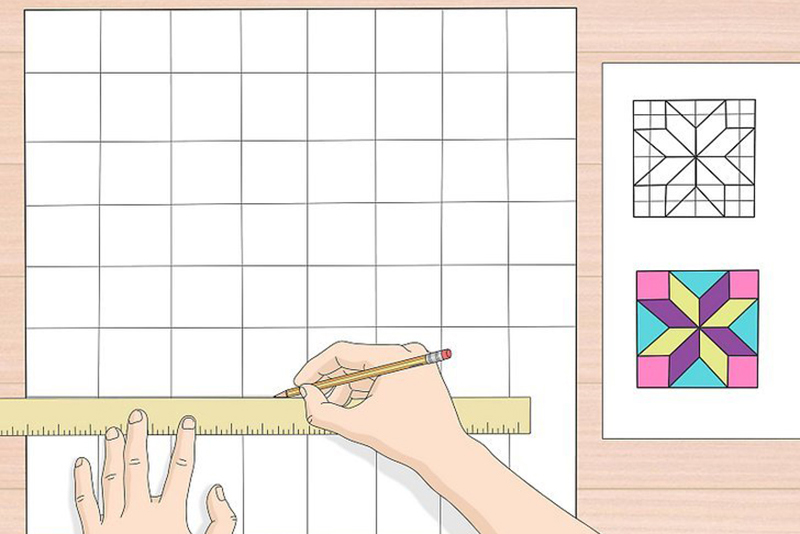
Draw a grid on your graph paper. The grid size will depend on the size of your barn quilt.
Step 3:
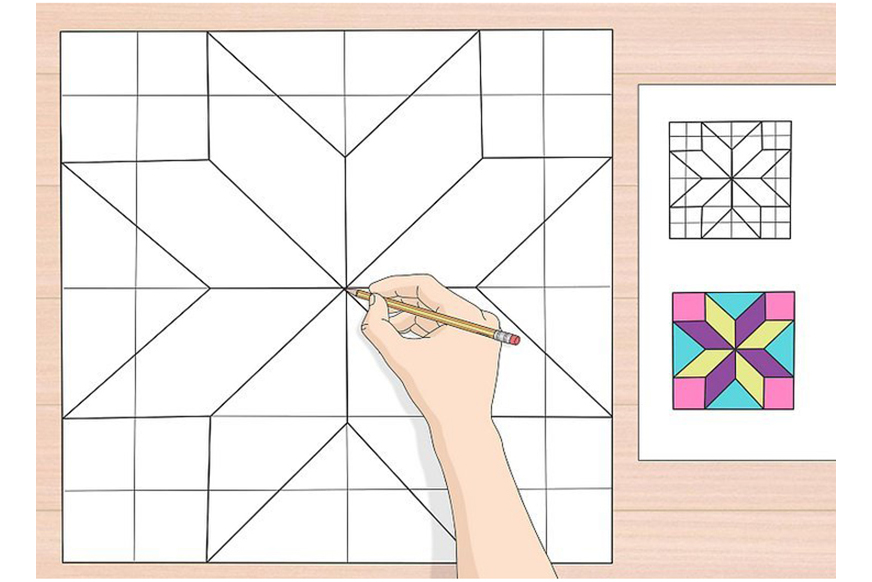
Transfer the barn quilt pattern to the grid. Be sure to follow the pattern carefully, paying attention to the size and placement of each shape.
Step 4:
Once you have transferred the pattern to the grid, you can start drawing the shapes. Use a light pencil at first to easily erase any mistakes.
Step 5:
You can start coloring the shapes once you are happy with them. Use colored pencils or markers to create a bold and colorful design.
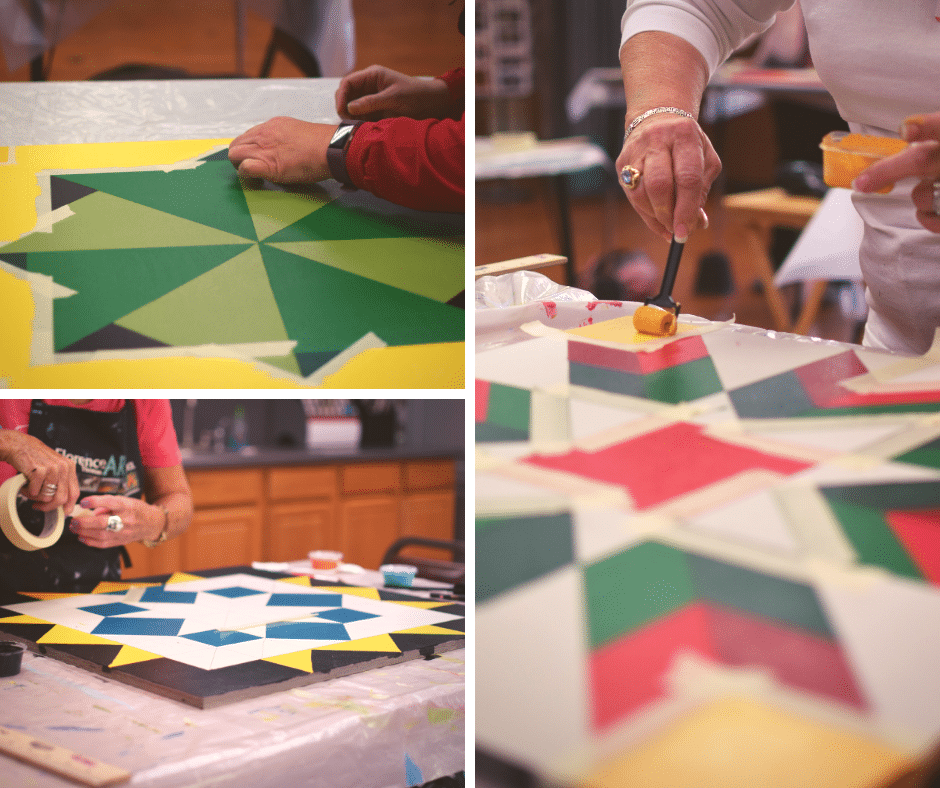
Once you have finished drawing your barn quilt pattern, you can transfer it to a piece of wood and paint it. Barn quilts are a great way to add a touch of country charm to your home or yard.