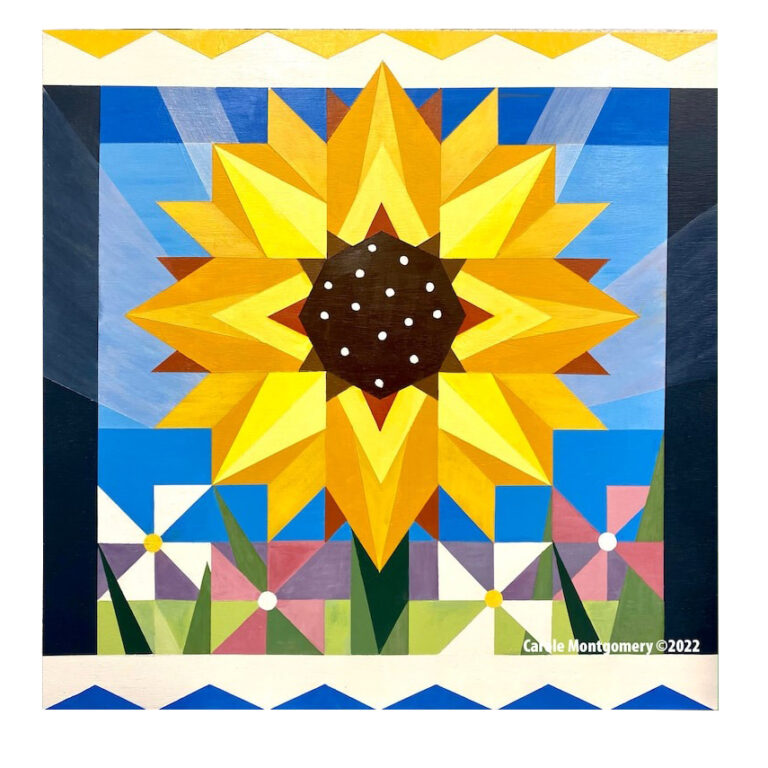
If you’re new to creating barn quilt, I can help you get started with my experience and knowledge.
To create a barn quilt pattern, there are two primary methods:
1. Design your pattern
To design your pattern, start by sketching some ideas on paper. You can draw your pattern once you have a general idea of what you want. Use a ruler and pencil to create straight lines and accurate measurements. You can check our gallery of barn quilt to get some inspiration.
2. Use a pre-made pattern
Many pre-made barn quilt patterns are available online and in quilting magazines. These patterns are a great option if you are new to making barn quilts or short on time. To use a pre-made pattern, print it out and transfer it to tracing paper or another durable material.

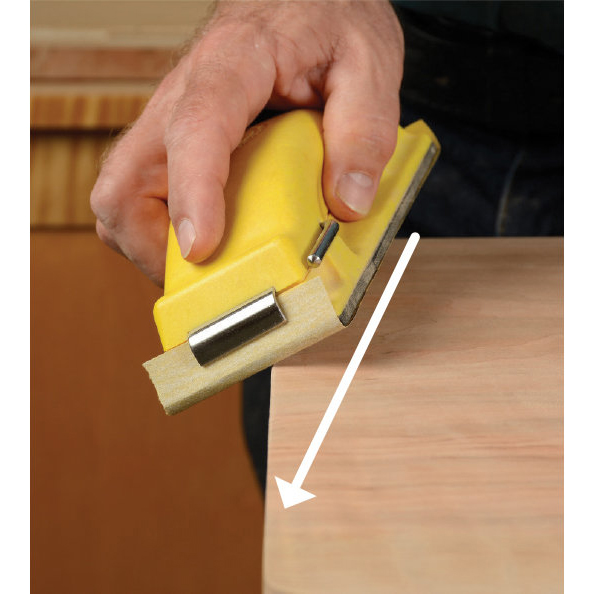
Once you have your pattern, you can start cutting out the pieces. If you are using wood, use a saw designed for cutting wood. Using plywood, you can use a utility knife or a jigsaw. Once the pieces are cut out, you can sand them smooth.
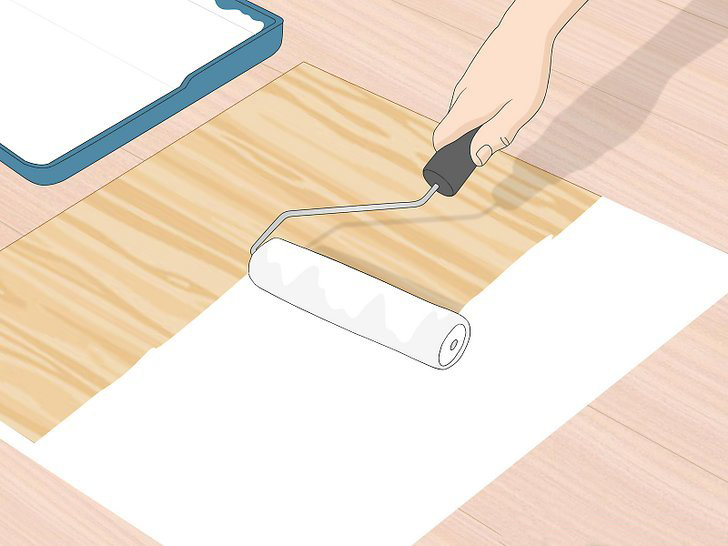
Now, you are ready to start painting! Use exterior paint that is rated for all weather conditions. Apply a primer to the wood before painting. This will help the paint adhere better and last longer. Paint the background color first.
Use your template to trace and paint the other colors. Allow each layer of paint to dry completely before applying the next layer.
Apply a clear sealant once the paint is dry to protect your barn quilt from the elements. Once your barn quilt is painted and sealed, you can hang it on your barn, house, or fence.
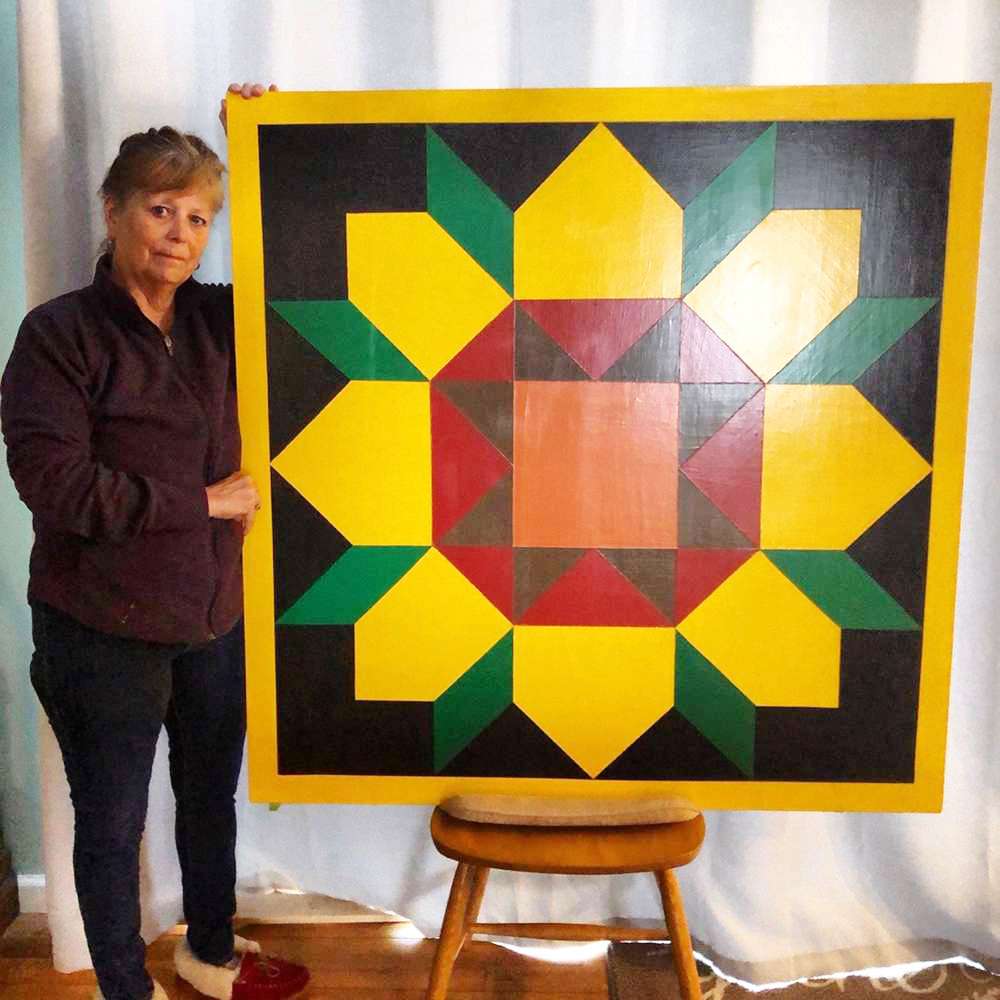
Barn quilts are a beautiful and unique way to add personality to your property. I hope that some of my information may help you create your own original barn painting.

