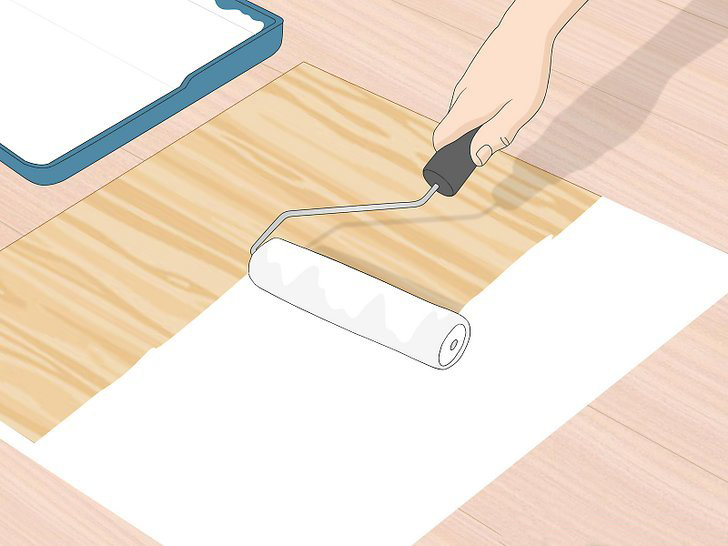
The first step to making a square barn quilt is to prepare a square sheet of plywood.
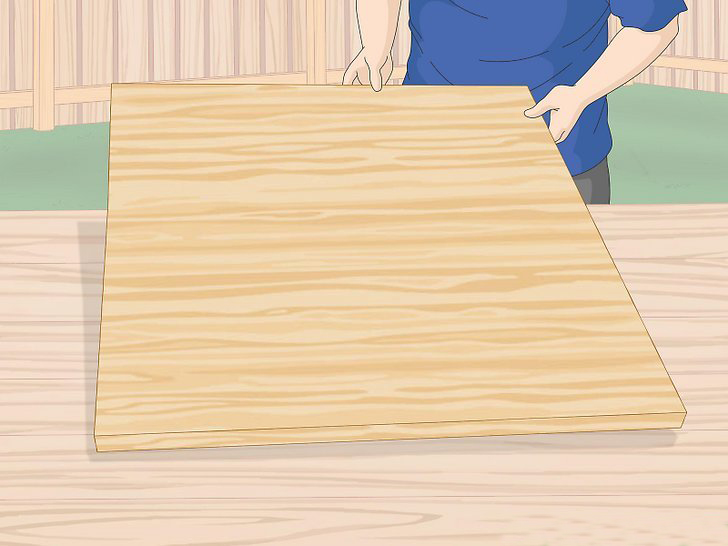
Prime the square plywood with a coat of exterior primer. This will help the paint adhere better and last longer.
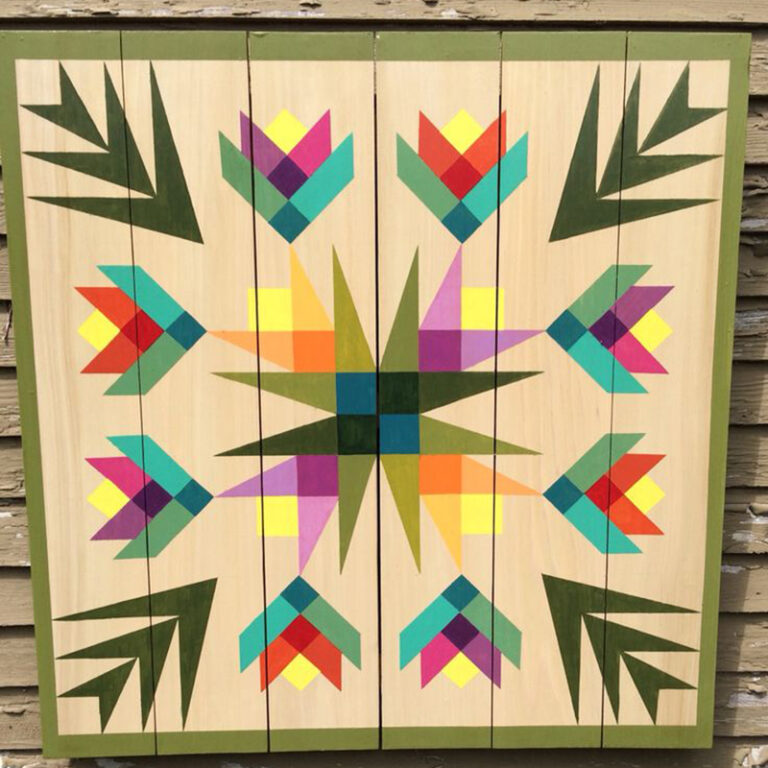
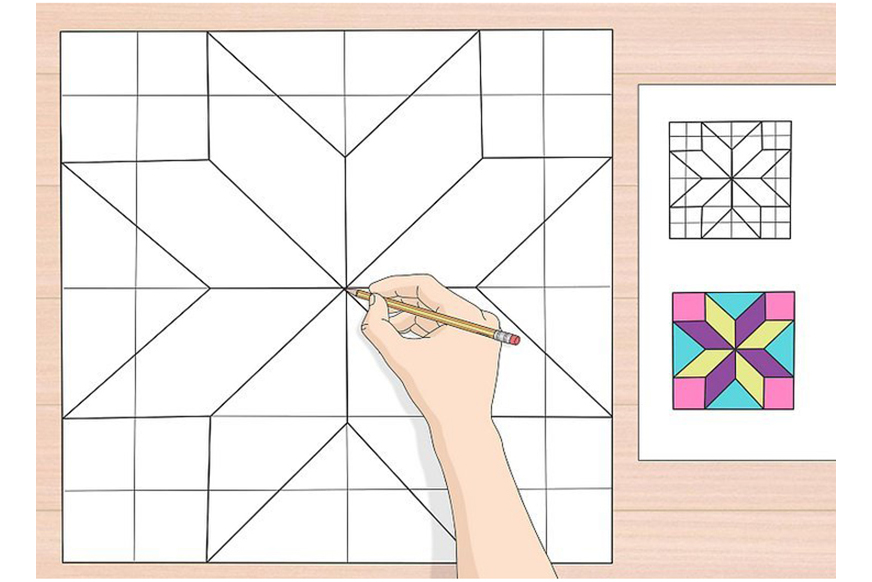
Once the primer is dry, lay out your pattern on the plywood. You can use a template or freehand your design.
Use painter’s tape to mark off the different sections of your pattern.
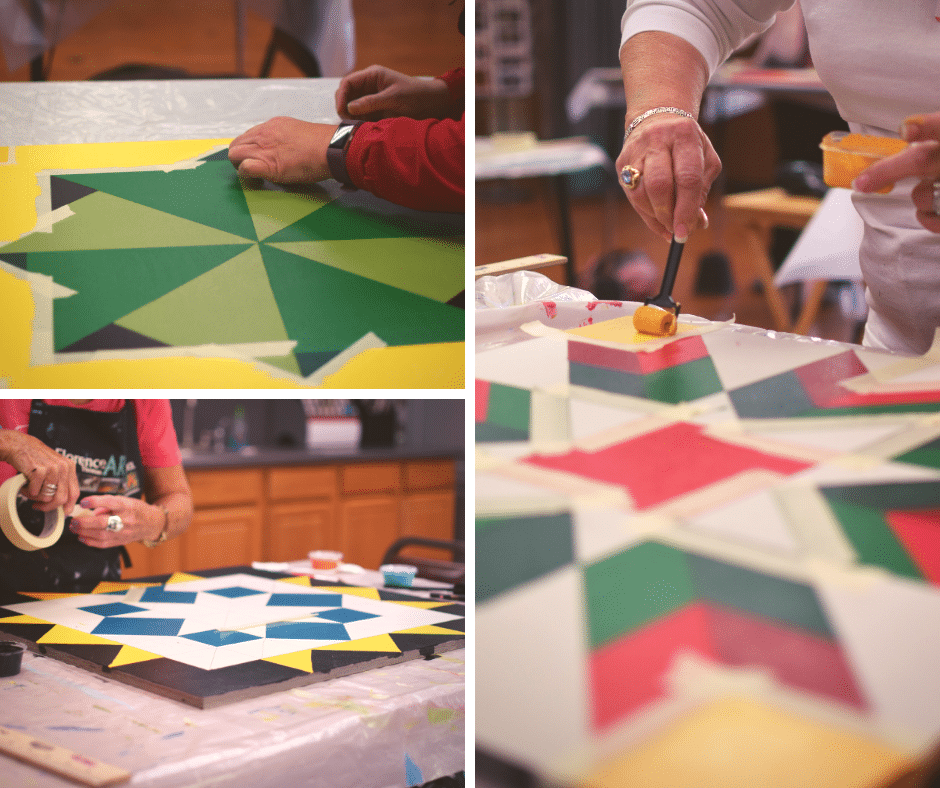
Start painting with the lightest color first. Work your way up to the darkest color, painting over the painter’s tape as you go.

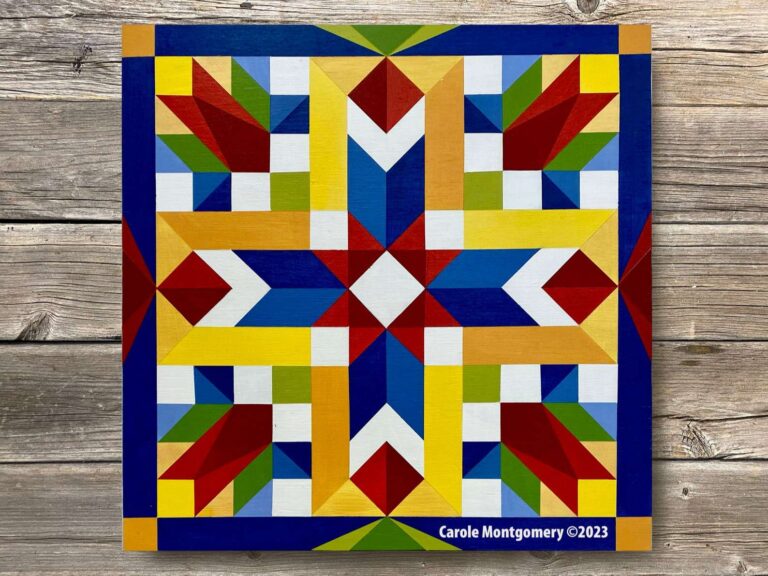
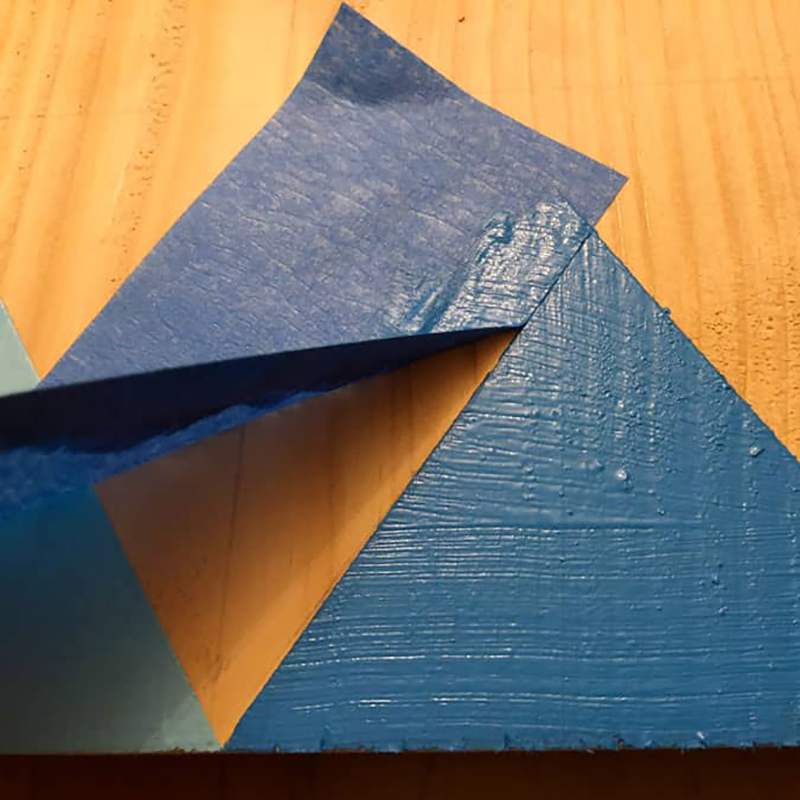
Once all of the sections are painted, remove the painter’s tape and let the paint dry completely.
Apply a coat of clear exterior sealant to protect your barn quilt square from the elements.
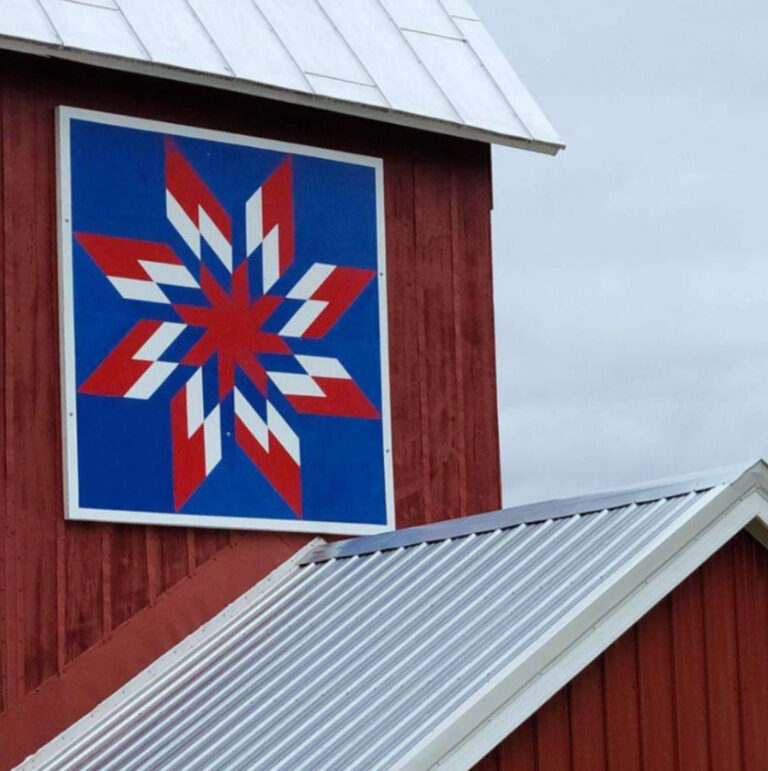
Attach your hanging apparatus to the back of the barn quilt square. You can hang it up on your barn, fence, or house. Barn quilt squares are a beautiful and unique way to add personality and charm to your property.