Making a barn quilt pattern starts long before you pick up a paintbrush. The design phase – choosing your block, scaling it to your board, creating your grid, and planning your color layout – determines whether your finished quilt looks intentional and sharp or slightly off. This guide focuses specifically on the pattern-making process: how to take any barn quilt design from idea to a workable plan on your board.
Understanding the Building Blocks of Barn Quilt Patterns
Every barn quilt design is built from one of four basic geometric shapes: squares, rectangles, triangles, and diamonds. More complex-looking patterns are just these four shapes combined, rotated, and scaled. Understanding this makes any design far less intimidating.
- The Nine Patch is nine squares in a 3×3 grid. That is the entire structure.
- The Ohio Star is one central square, four corner squares, and four “flying geese” units made from two triangles each. Eight total pieces.
- The Log Cabin block is a series of concentric rectangles radiating from a central square. Still just rectangles.
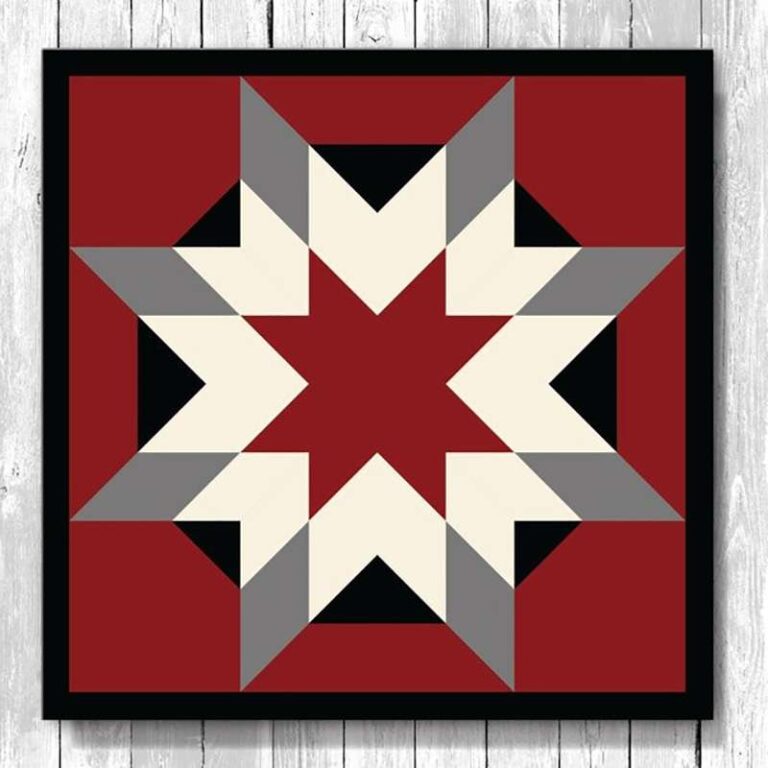
- The Eight-Pointed Star uses eight diamond shapes. Complex-looking, but mathematically precise and fully achievable with a ruler and protractor.
Before starting any barn quilt, identify which basic shapes your chosen pattern is built from. This tells you exactly what angles you need to mark on your grid and how many taping passes the project requires.
Step 1: Choose Your Base Pattern
The most reliable source of barn quilt patterns is the traditional American quilt block library, which contains hundreds of named patterns developed over two centuries of quilting. Any of these can be scaled up and painted on wood as a barn quilt.
Sources for finding patterns:
- Pinterest – search “free barn quilt pattern printable” for downloadable grid templates in various sizes
- QuiltPatterns.co – browse our full collection of barn quilt patterns with photos of completed designs
- County barn quilt trail websites – many publish the pattern names and sometimes templates for every quilt on their trail
- Traditional quilt pattern books – any library carries books with detailed block diagrams that translate directly to barn quilt grids
If you want to create an original design, use graph paper to sketch it before committing to wood. Each square of graph paper represents one unit of your barn quilt grid. Sketch, adjust, try different color combinations on paper before you buy paint.
Step 2: Scale the Pattern to Your Board
Most barn quilt patterns are designed on a grid – most commonly an 8×8 or a 16×16 division of the square. Your job is to determine the unit size for your specific board dimensions.
The formula: Board width (in inches) divided by number of grid units = unit size in inches
- A 4-foot (48-inch) board on an 8×8 grid: 48 ÷ 8 = 6-inch units
- A 4-foot (48-inch) board on a 16×16 grid: 48 ÷ 16 = 3-inch units
- A 2-foot (24-inch) board on an 8×8 grid: 24 ÷ 8 = 3-inch units
Patterns with simple geometry (squares and rectangles) work on either an 8×8 or 16×16 grid. Patterns with 45-degree angles (stars, flying geese) need the grid units to be proportionally large enough to allow accurate tape lines – 3-inch units are the minimum workable size for precise angles.
Step 3: Draw the Grid on Your Board
After priming and sanding your board, draw the grid using a ruler, a long straightedge, and a sharp pencil. This is the most important step in the pattern-making process – an off-center or unequal grid makes every subsequent step harder.
Method:
- Find and mark the exact center of the board (measure diagonally corner to corner; where the diagonal lines cross is the center).
- From the center, measure outward in your unit size increments in all four directions, making small pencil marks at each interval.
- Use a long straightedge to connect the marks into full-width grid lines across the board.
- Check all corners with a carpenter’s square – they must be exactly 90 degrees.
- Measure the diagonal from corner to corner in both directions – these measurements should be equal if your board is truly square.
Use a light pencil touch. Grid lines should be barely visible, not scored into the wood. You will be painting over them, but too much pencil pressure can create grooves that show through paint.
Step 4: Transfer the Pattern Into the Grid
With the grid in place, sketch your pattern shape within it. For an Ohio Star on an 8×8 grid:
- The central square occupies units 3-6 horizontally and 3-6 vertically (a 4-unit square centered on the board)
- The corner squares each occupy 2×2 units in each corner
- The four “flying geese” units fill the remaining spaces – each is a 2×2 unit square containing two right triangles
For triangles and diagonal lines, mark both endpoints of each diagonal on your grid, then connect them with a ruler. Use a T-square or triangle tool to draw 45-degree angles accurately. A slight error in a 45-degree line becomes visible from a distance in the finished piece.
Step 5: Plan Your Color Layout
Before taping and painting, fill in your sketched pattern with colored pencils or markers to plan the color layout. This step prevents the most common beginner mistake – choosing colors that look good individually but create confusion in the finished design.
Rules for effective barn quilt color planning:
- Use high contrast between adjacent sections. Two colors that are similar in value (both light or both dark) blend together from a distance, erasing the pattern.
- Limit to three or four colors for your first design. More colors require more taping passes and more opportunities for error.
- Consider the background (base color) as one of your colors. The base color is part of the design, not neutral space.
- Test paint colors on scrap wood before committing. Paint color charts at the hardware store look nothing like dried paint on wood outdoors in daylight.
Using Software to Design Barn Quilt Patterns
Several free and low-cost tools make it easy to design barn quilt patterns digitally before drawing on wood:
- Electric Quilt (EQ8) – the professional standard for quilt pattern design. Expensive but includes hundreds of pre-built blocks and full color-testing tools.
- Google Slides or PowerPoint – surprisingly effective for simple geometric designs. Create a grid using the table tool, then fill cells with color. Free.
- Canva – create a square artboard, add a grid template, and use the shape tools to build pattern blocks. Export as a reference image. Free.
- Graph paper (analog) – still the fastest method for simple designs. One square of paper = one grid unit. Color with pencils. Takes ten minutes.
The goal of digital design is to give yourself a clear reference image to work from when drawing on the board – not to create a perfect technical drawing.
Adapting Traditional Quilt Patterns to Wood
Any traditional quilt block pattern can be adapted to a barn quilt with one key adjustment: simplify where possible. Fabric quilt blocks often have many small pieces – some as small as one inch – that work fine in stitched fabric but are impractical to tape and paint on a 4-foot board.
When adapting a fabric quilt block:
- Merge very small adjacent pieces of the same color into one larger section.
- Round curves (if any) to gentler arcs – tight curves are difficult to tape cleanly.
- Increase contrast between adjacent colors relative to what the original fabric block uses – paint reads differently than fabric at distance.
Pattern Categories to Explore
If you are browsing for ideas, here are the main barn quilt pattern categories with their typical characteristics:
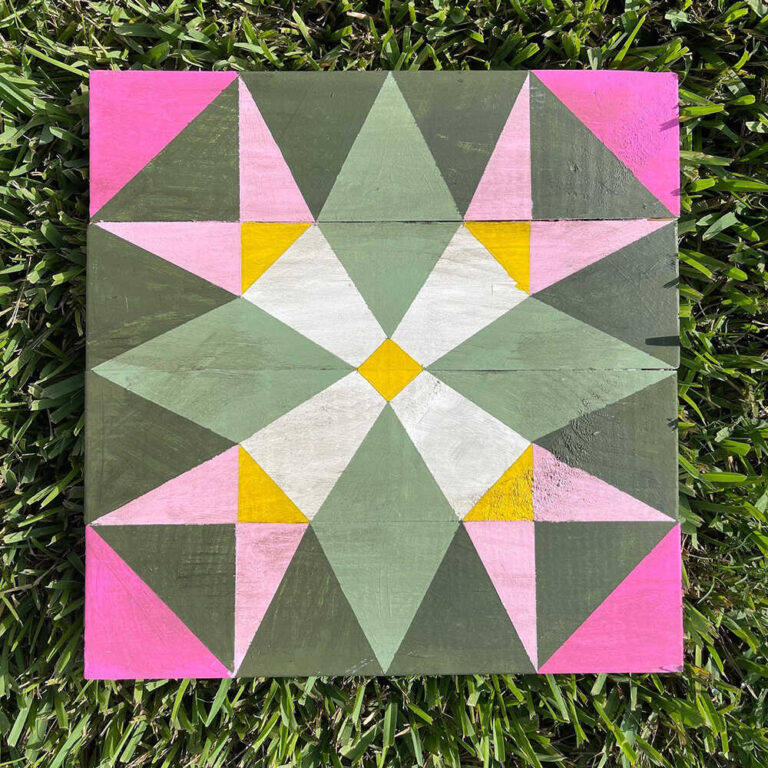
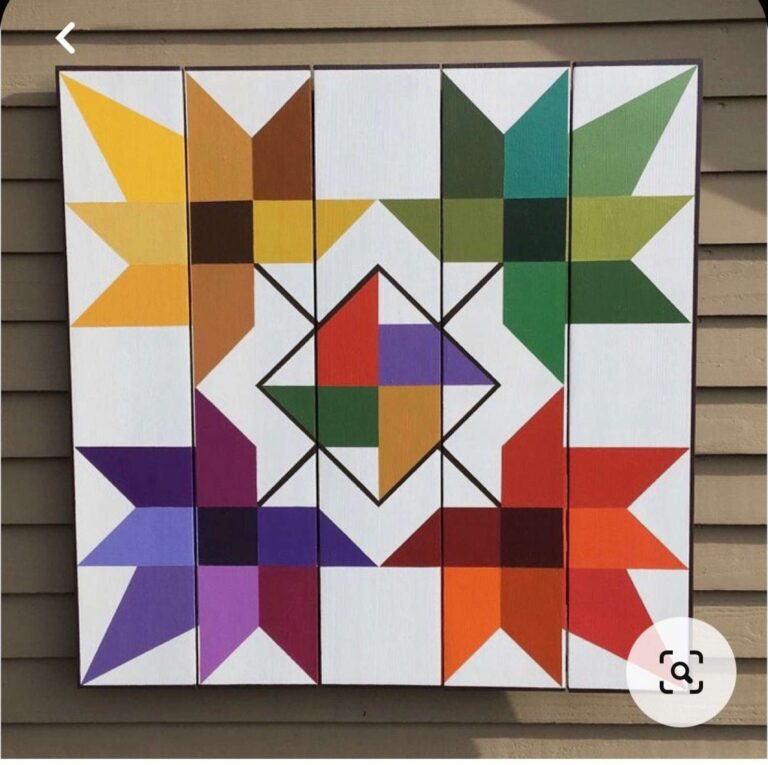
- Star patterns – Ohio Star, Lone Star, Eight-Pointed Star. High visual impact. Work at any viewing distance.
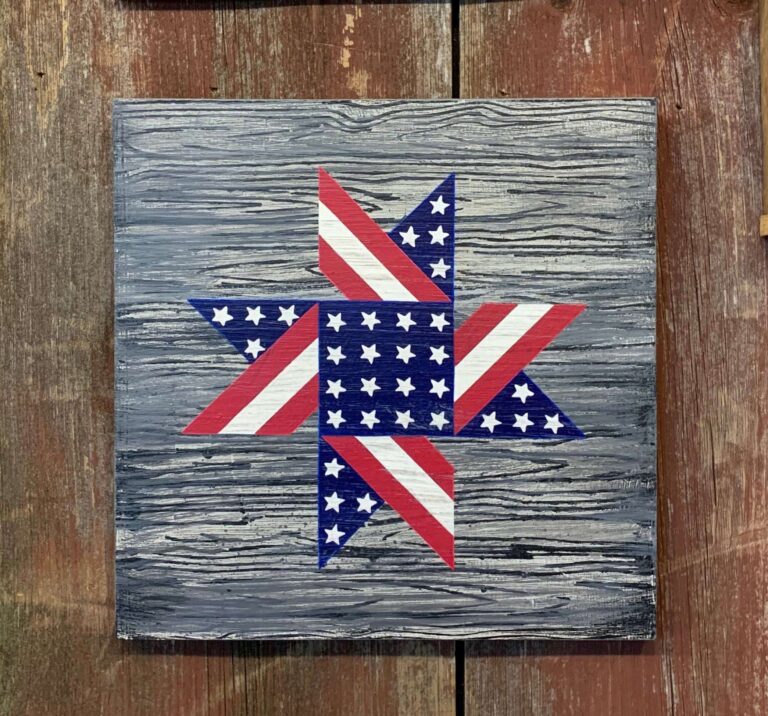
- Patriotic patterns – American flag stars, eagle designs. Popular for July 4th and veterans’ properties.
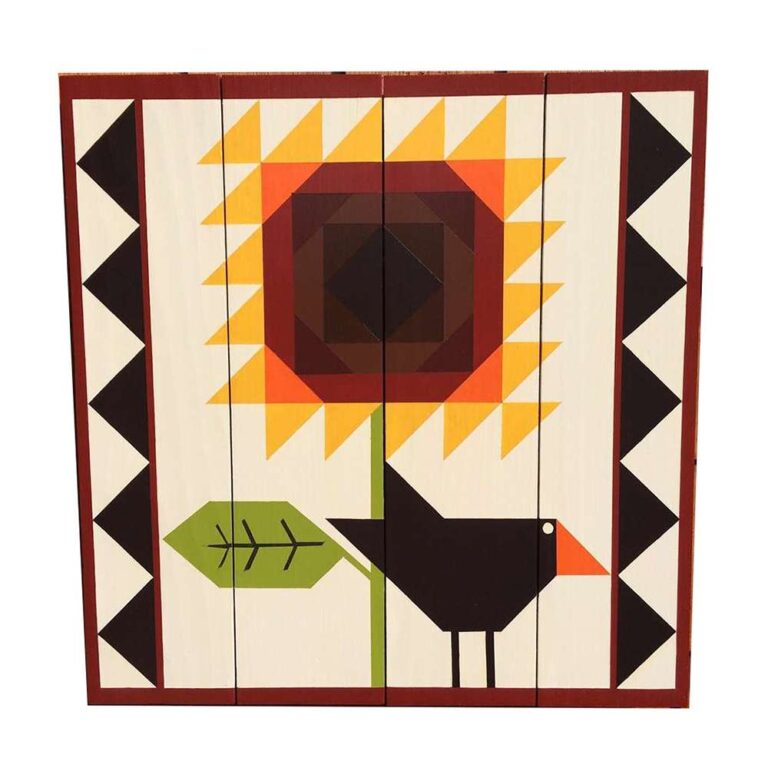
- Flower patterns – Dresden Plate, Sunflower, Tulip. More organic feel; work best at closer viewing distances.
- Printable patterns – downloadable grid templates you can print and use directly as a transfer guide.
- Beginner patterns – simple designs specifically suited to first-time painters with straight lines and limited taping.
Once you have your pattern drawn on the board and your color plan decided, you are ready to start painting. See our complete guide on how to paint a barn quilt block for the full step-by-step painting process.