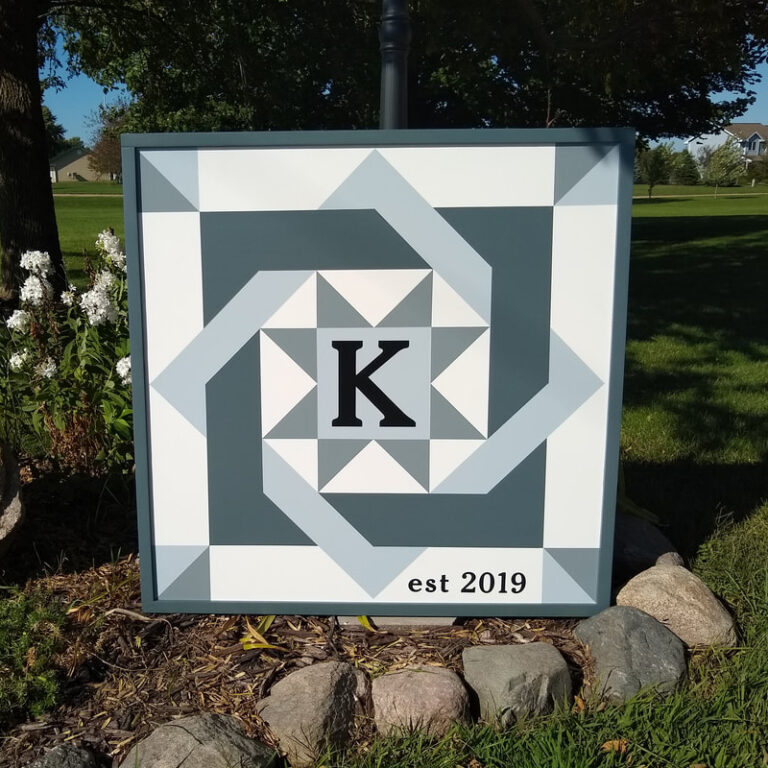
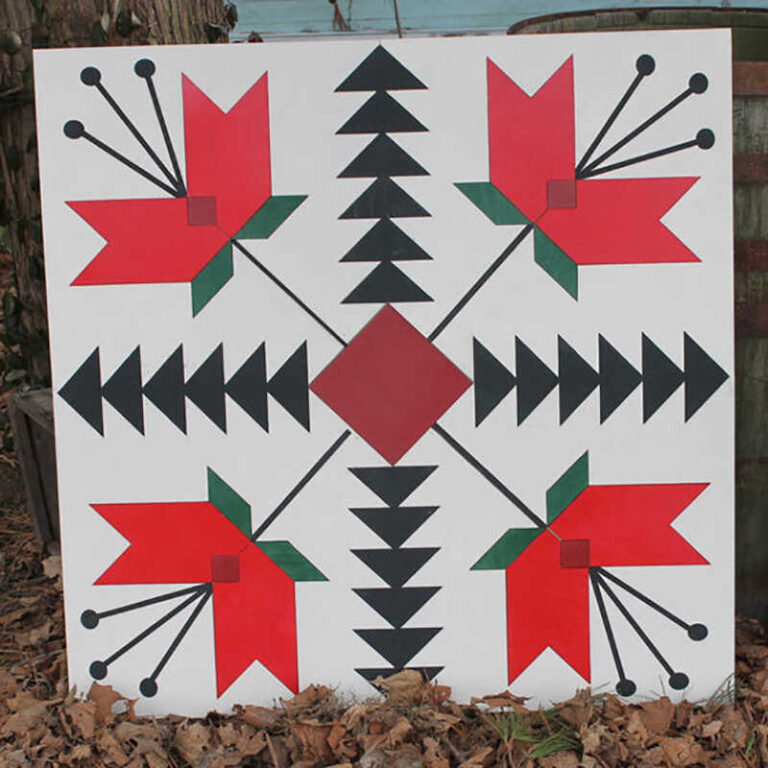
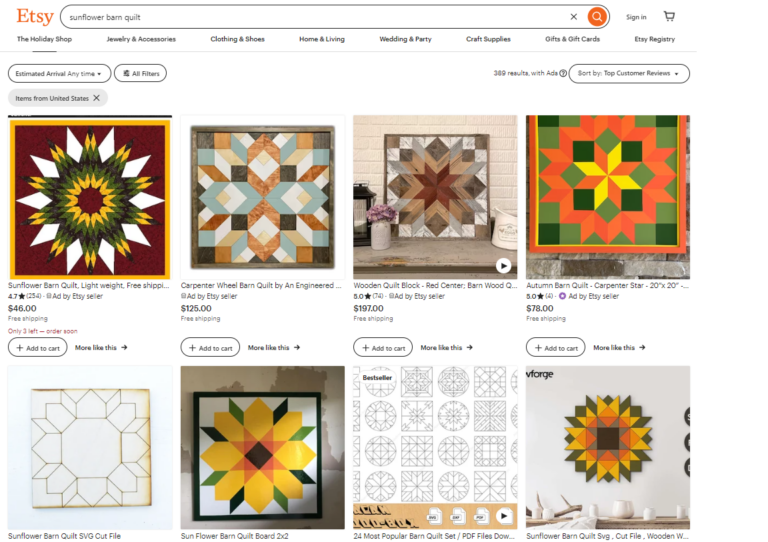
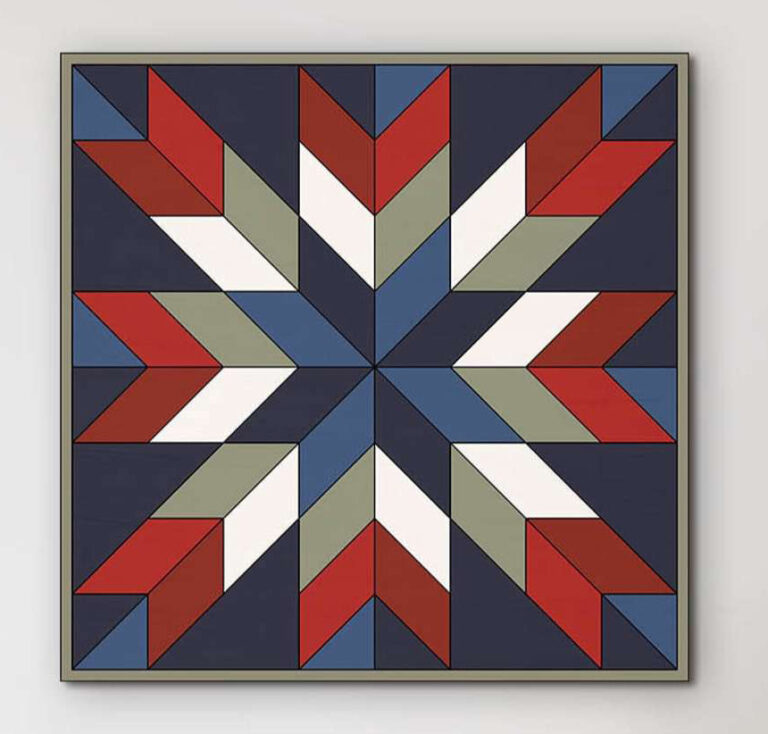
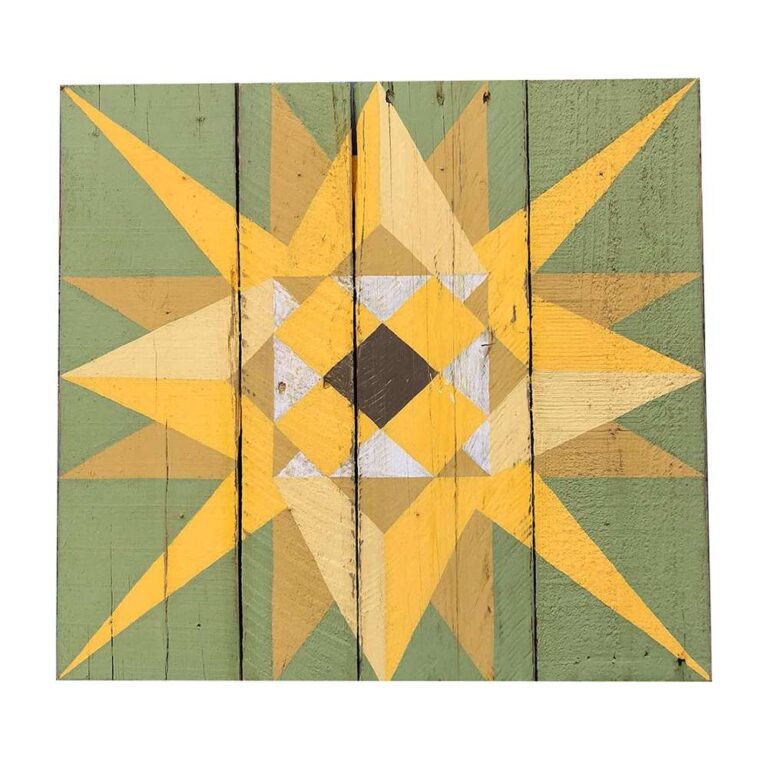
Get creative and have fun painting your barn quilt block! There are no rules, but you can see my tutorial below for the basics.
Step 1: Prepare the plywood
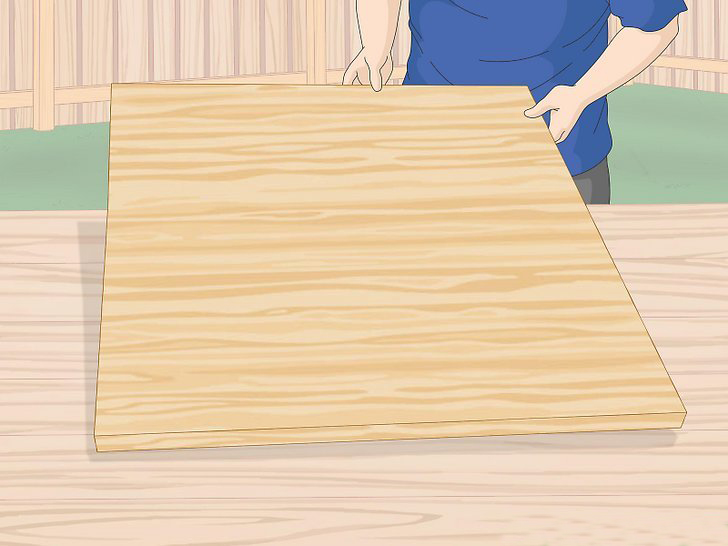
Cut the plywood to the desired size of your barn quilt block. Sand the edges of the plywood smooth.
Step 2: Apply primer
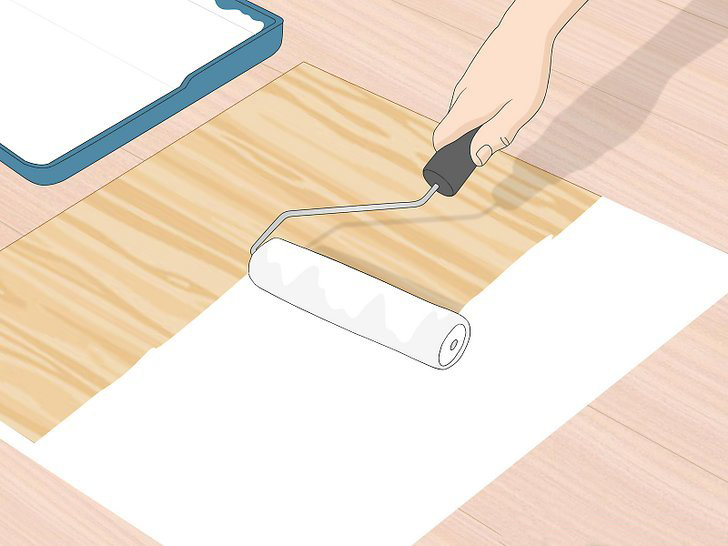
Apply a coat of exterior latex primer to the plywood. This will help the paint adhere better. Allow the primer to dry completely.
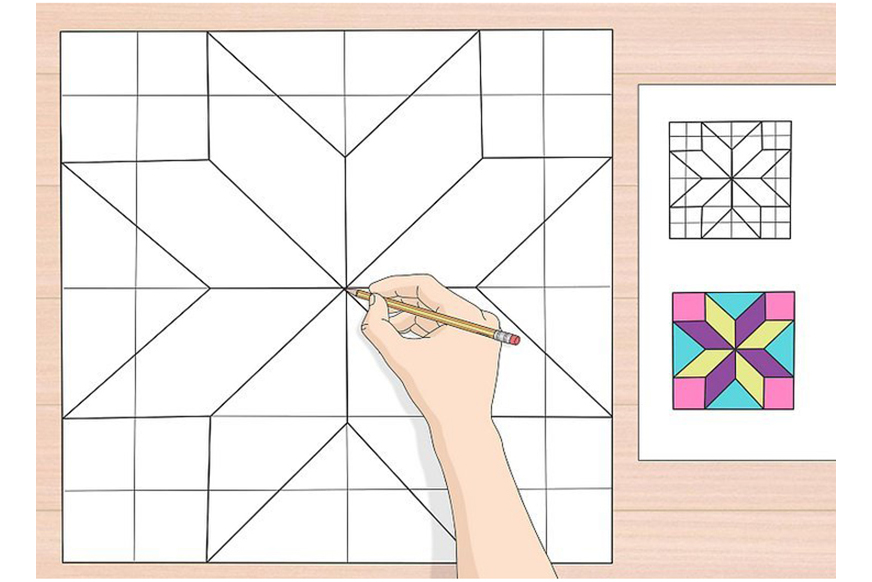
Step 3: Transfer the pattern
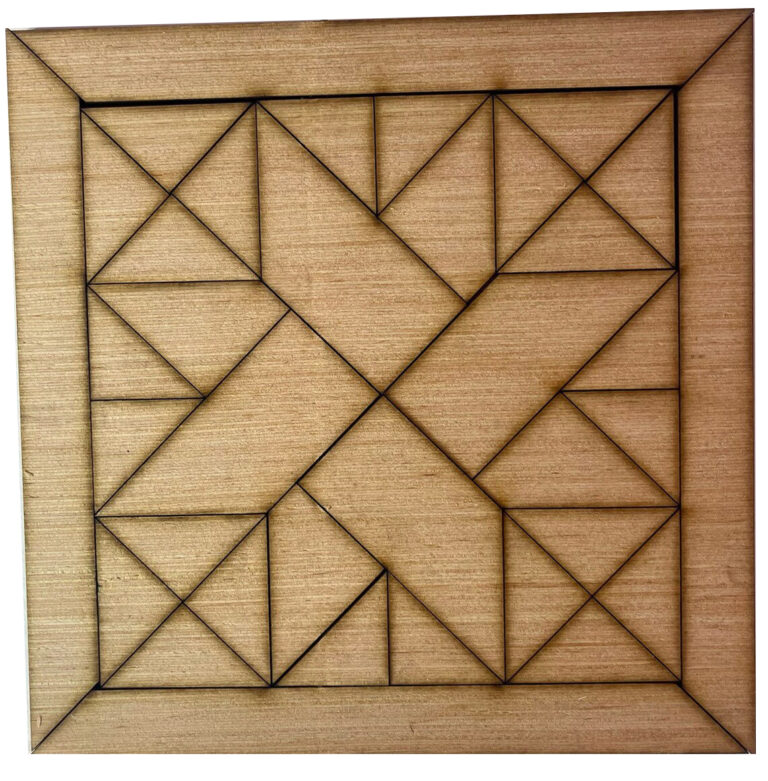
If you use a barn quilt pattern, transfer it to the plywood using a pencil and ruler.
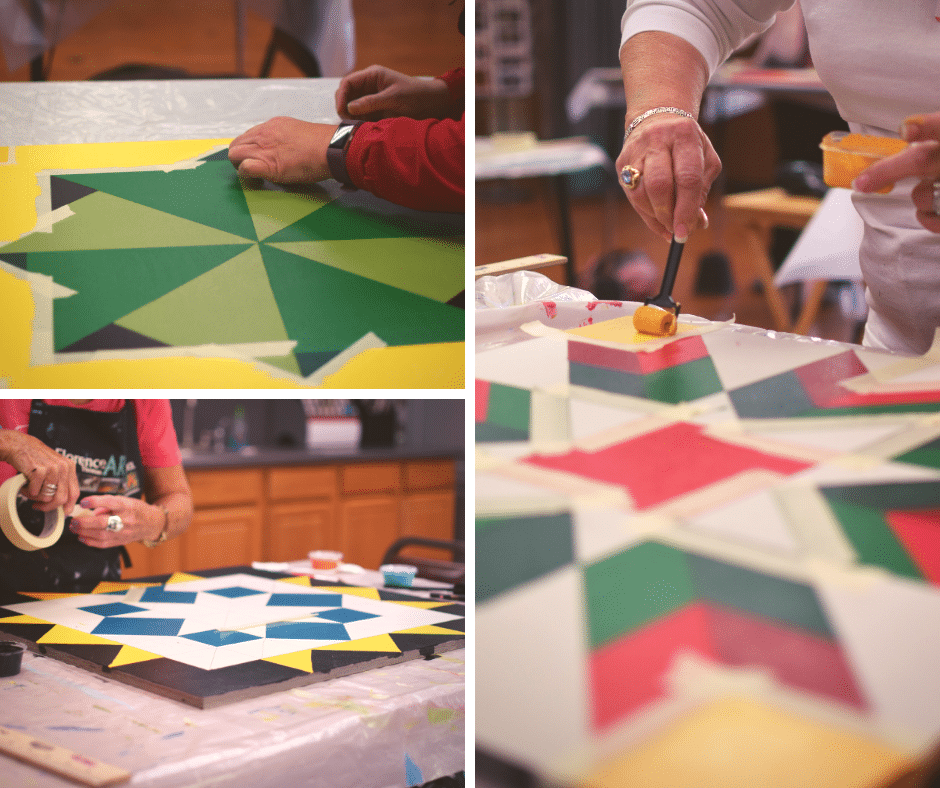
Step 4: Tape off the design
Use painter’s tape to tape off the sections of your design that you want to paint in different colors. Make sure that the tape is pressed down firmly to prevent paint bleeding.
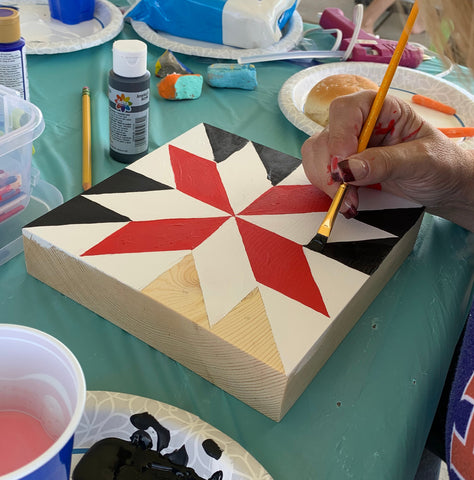
Step 5: Paint the lightest color first
Start by painting the lightest color in your design. Allow the paint to dry completely before moving on to the next color.
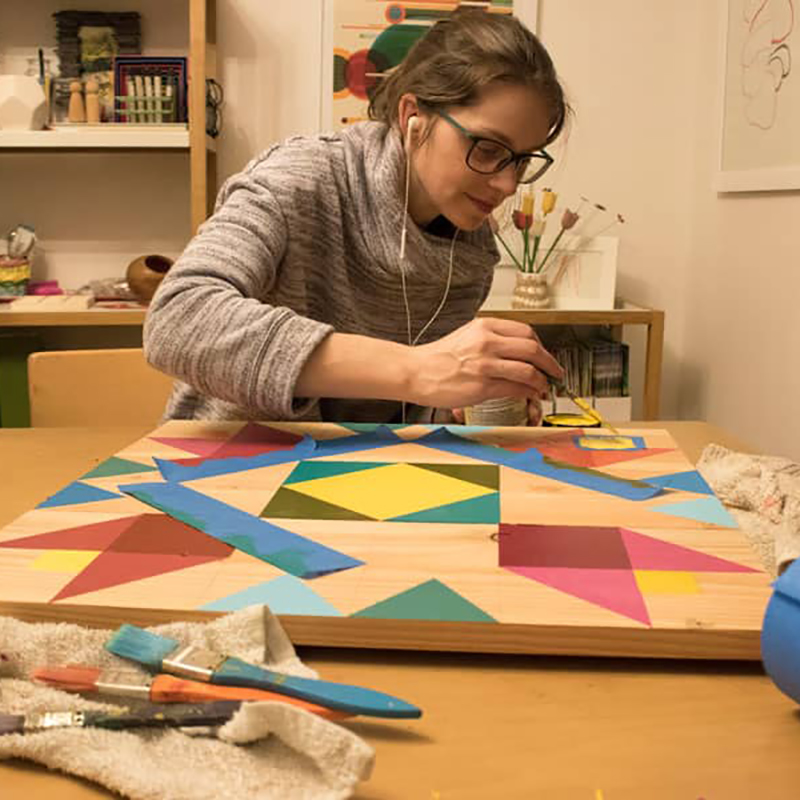
Step 6: Paint the rest of the colors
Continue painting the rest of the colors in your design, working from lightest to darkest.
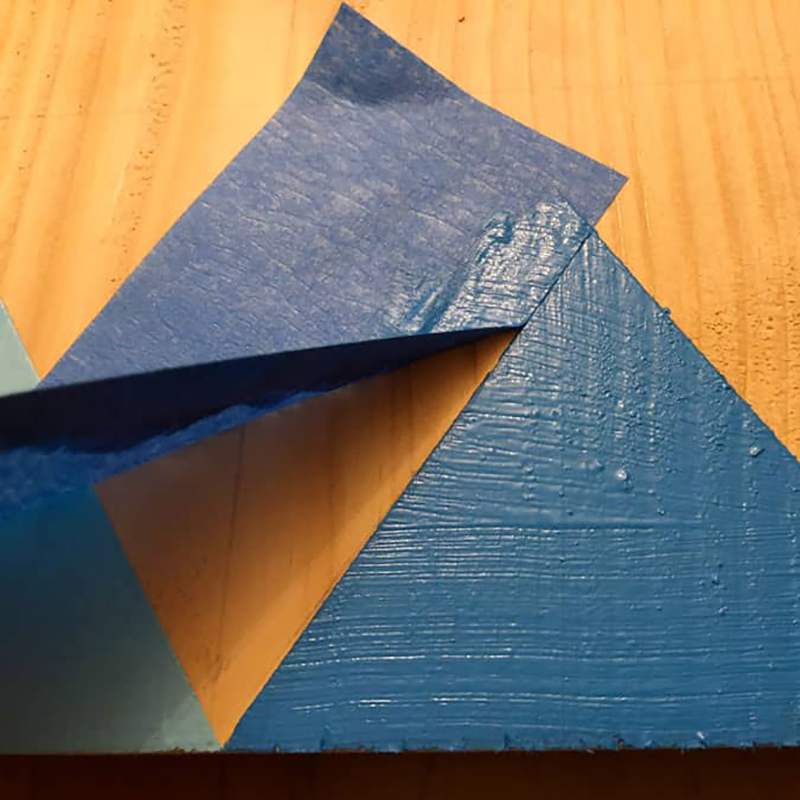
Step 7: Remove the painter’s tape
Once all of the paint has dried completely, carefully remove the painter’s tape.
Step 8: Apply a top coat
To protect your barn quilt block from the elements, apply a coat of exterior latex.
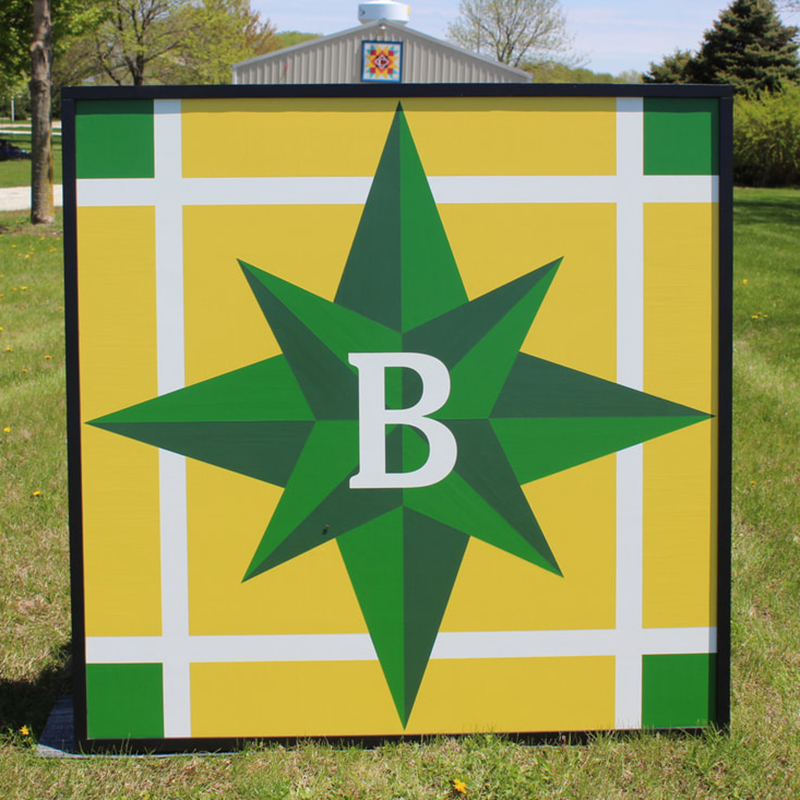
Once your barn quilt block is painted, you can hang it on your barn, fence, or anywhere else. Barn quilt blocks are a beautiful and unique way to add a touch of personality to your home or garden.

