Making your first barn quilt is easier than it looks. The bold geometric designs that appear complex from a distance are built from simple shapes — squares, triangles, and diamonds — that anyone can paint with the right preparation. This beginner’s guide walks you through every step of the process, from choosing your first pattern to hanging the finished quilt on your barn, garage, or fence.
If you have ever admired a painted barn quilt while driving through the countryside and wondered how it was made, this guide has everything you need to make one yourself.
What You Need to Get Started
Before you begin, gather your materials. Having everything ready before you start prevents frustration and unnecessary delays mid-project:
- 3/4-inch exterior plywood or cedar board — start with a 2×2 ft square for your first project. It is manageable in size, inexpensive if you make mistakes, and large enough to look good on a fence or shed.
- Exterior latex primer — one small can covers a 2×2 ft board twice over.
- Exterior latex paint — choose two or three colors for your first design. One quart of each is more than enough.
- Clear exterior sealer (UV-resistant) — spar urethane or polyurethane with UV inhibitor protects the finished piece from sun fading.
- Painter’s tape — Frog Tape brand gives cleaner lines than standard blue masking tape.
- 4-inch foam rollers — one per color prevents cross-contamination.
- 1-inch and 2-inch flat paintbrushes — for edges and tight corners the roller cannot reach.
- Pencil, ruler, and carpenter’s square — for drawing your grid on the primed board.
- Sandpaper — 80-grit for initial prep, 220-grit between paint coats.
Total material cost for a beginner 2×2 ft barn quilt is typically $30 to $60, depending on your paint brand choices.
Step 1: Prepare the Wood
Sand the plywood surface and all edges with 80-grit sandpaper to remove any splinters or rough spots. Wipe away all sawdust with a tack cloth or damp rag. If you are using reclaimed wood or wood with visible knots, apply a shellac-based stain blocker (like Zinsser BIN) over the knots before priming — this prevents resin bleed-through that would discolor your paint later.
Let the board dry completely flat on sawhorses or a work table. Painting a barn quilt flat (rather than propped against a wall) gives you much better control and prevents drips running through your design.
Step 2: Choose Your Pattern
For your first barn quilt, choose a pattern that uses only straight lines and two or three colors. Good beginner choices include:
- Nine Patch — nine equal squares in a 3×3 grid, alternating two colors. Takes about two hours of actual painting.
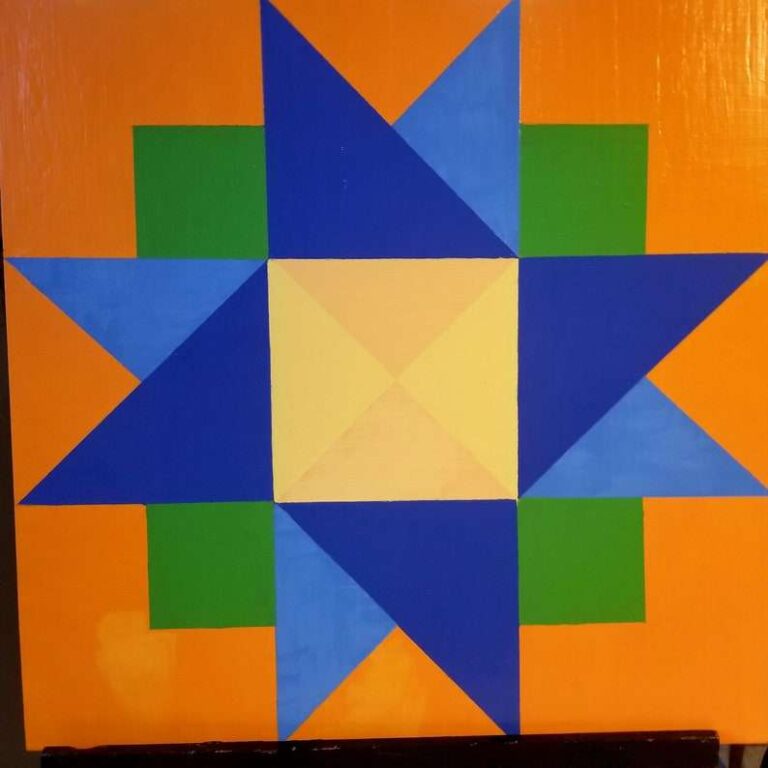
- Ohio Star — eight-pointed star made from squares and half-square triangles. A little more complex but still very approachable.
- Log Cabin block — concentric squares radiating from a center square in alternating light and dark values.
- Simple cross — bold cross centered on the board. Two or three colors, no complex angles.
Avoid curved designs like the Double Wedding Ring for your first project — the taping required for curves is significantly more demanding. See our guide on how to choose a barn quilt pattern for a full breakdown by skill level and style.
Step 3: Apply Primer
Apply an even coat of exterior latex primer to all surfaces of the board — front, back, and all four edges. Priming the back and edges is important for outdoor pieces because it prevents moisture from entering the wood from behind, which causes the front paint to bubble and peel.
Use a 4-inch foam roller for the front face and a brush for the edges. Allow to dry completely — at least two hours, longer in humid weather. Lightly sand the primed front surface with 220-grit paper, then wipe clean. A second primer coat on the front face is worth the extra hour of drying time if you want a very smooth finish.
Step 4: Transfer the Pattern to the Grid
Most barn quilt patterns are based on a simple grid. A 2×2 ft board (24×24 inches) divided into an 8×8 grid gives you 3-inch unit squares — a good size for a beginner design.
Mark the center of the board with a light pencil dot. Measure outward from the center in 3-inch increments both horizontally and vertically, making small pencil marks at each grid intersection. Use a long ruler to connect the marks into a full grid. Check with your carpenter’s square that the corner intersections are exactly 90 degrees.
Once the grid is drawn, sketch your pattern lightly within it using pencil. These marks will be covered by paint, but keep them light in case you need to erase and redraw.
Step 5: Paint the Base Color
Paint the entire front surface of the board in your base (background) color using a foam roller. Apply two even coats, letting the first dry completely before applying the second. The base color goes on first because all subsequent taping is done over it, and tape adheres better to a fully cured paint film than to bare primer.
Most beginners choose white or a light neutral as their base color. Bolder base colors can create striking effects but make it harder to correct mistakes later — with a dark base, light paint applied as a correction is often visible.
Step 6: Tape and Paint Each Color Section
Once the base color is fully dry (overnight is ideal), apply painter’s tape along your pencil grid lines to mask the sections you want to remain in the base color. Press the tape edge down firmly with your fingernail to seal it against paint bleeding.
Beginner tip for sharp lines: After applying tape, run a thin coat of your base color paint along the tape edge first. Let that dry for 20 minutes, then apply your second color. Any bleed under the tape will be base-color paint (invisible), leaving a perfectly crisp line when you remove the tape.
Paint your second color with a foam roller in two thin coats. Work carefully at tape edges with a flat brush. When fully dry, remove the tape by pulling at a 45-degree angle, slowly and smoothly.
Repeat this process for each additional color in your design, always working from lightest to darkest and always letting paint dry fully before re-taping.
Step 7: Add Final Details and Touch-Ups
Once all colors are painted and tape removed, inspect the design closely. Small bleeds and ragged edges are common even for experienced painters. Keep a small flat brush and a cup of each color nearby to touch up any imperfect lines. This touch-up stage is where your quilt goes from “good” to “great.”
Allow the completed design to dry fully — ideally 24 to 48 hours — before applying the sealer coat.
Step 8: Seal the Finished Barn Quilt
Apply two coats of clear exterior spar urethane or polyurethane with a UV inhibitor. This step is often skipped by first-timers and regretted later — unprotected exterior paint fades significantly within a single summer in sunny climates. The sealer locks the colors in and protects the wood from moisture.
Use a wide, soft brush or foam applicator. Apply thin, even coats and allow full drying between applications. Lightly sand with 400-grit wet/dry paper between coats for a smooth, satin finish.
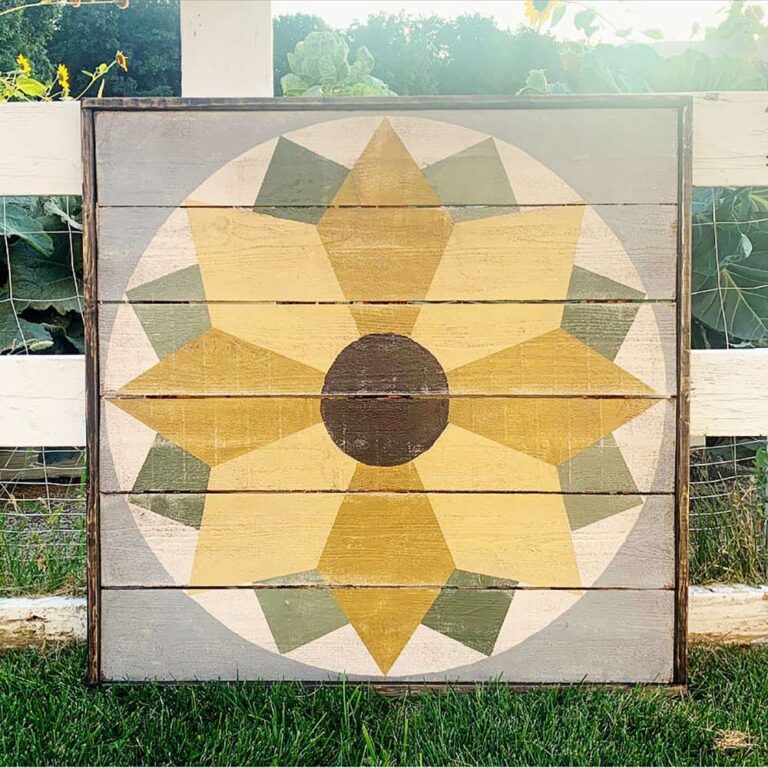
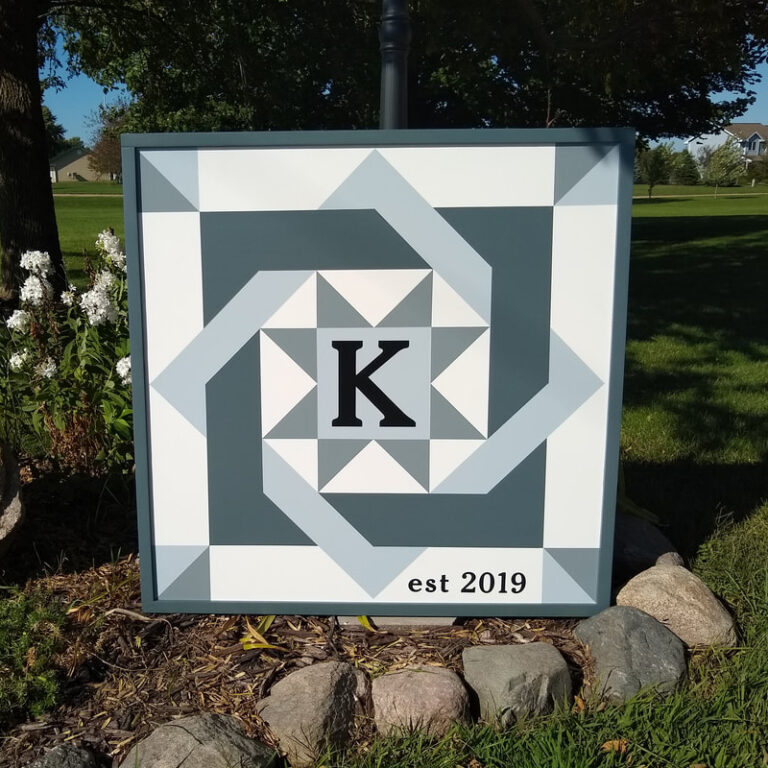
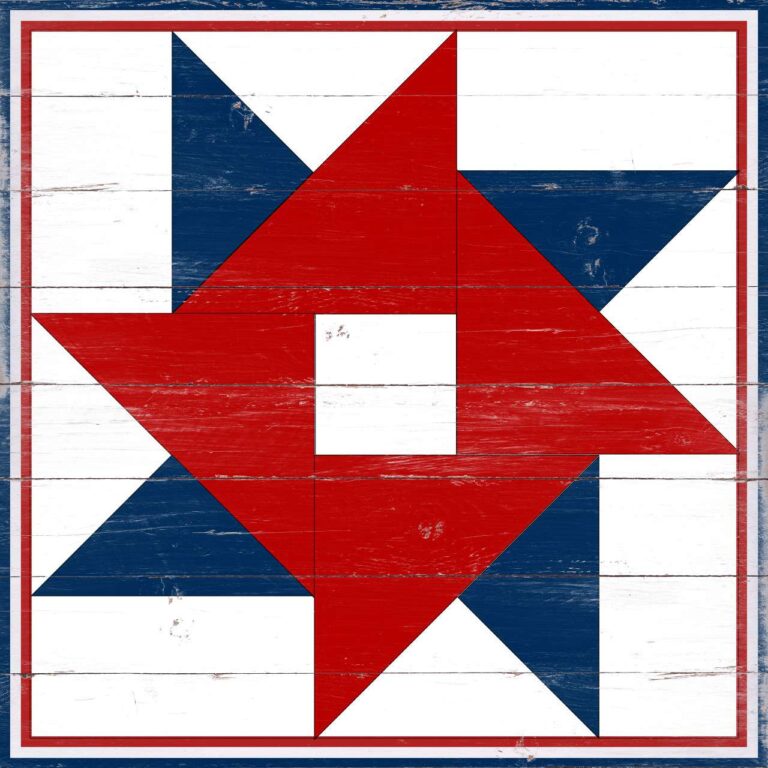
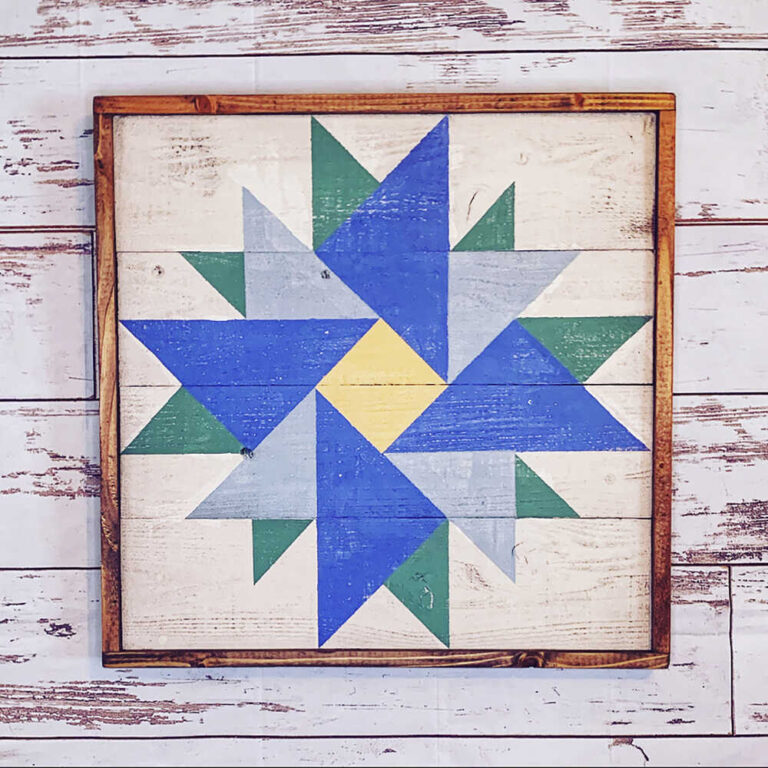
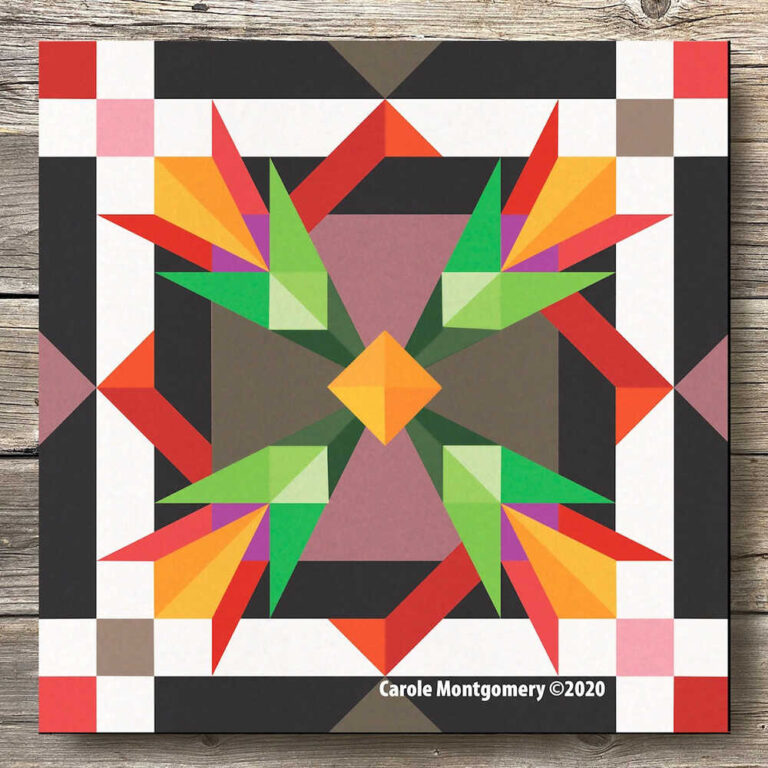
What Your Finished Barn Quilt Will Look Like
Here are examples of finished, professional-quality barn quilts to inspire your own project:
Hanging Your Barn Quilt
Use keyhole mounting brackets on the back of the board — these allow the quilt to hang flush against the wall with no visible hardware from the front. Use two brackets spaced 12 to 18 inches from each corner. Always use stainless steel or galvanized screws and hardware to prevent rust staining on the wood over time.
Leave a small gap (at least 1/4 inch) between the board back and the wall surface. Air circulation behind the board prevents moisture buildup that causes paint failure. For more detail on placement and sizing, see our guide on how big a barn quilt should be.
Beginner Mistakes to Avoid
- Using interior paint — it will fade in a single season. Always use paint labeled for exterior use.
- Thin wood (1/2 inch) — warps badly outdoors, especially in humid climates. Use 3/4 inch minimum.
- Not priming the back and edges — moisture enters from the back. Prime all surfaces, not just the front.
- Taping over wet paint — paint must be fully cured (24 hours) before taping over it, or the tape will lift it.
- Skipping the sealer — exterior paint alone fades. The UV-resistant sealer is the key to long-lasting color.
- Choosing a complex pattern first — start simple. A beautiful, perfectly executed Nine Patch beats a rushed, messy 8-pointed star every time.
Frequently Asked Questions
How long does it take to make a barn quilt?
Allow three to four days for a 2×2 ft beginner barn quilt, accounting for drying time between coats. Active working time is four to six hours. Most of the time is waiting for paint and primer to dry.
What is the easiest barn quilt pattern for beginners?
The Nine Patch (nine equal squares in a 3×3 grid) is the easiest. It requires just two colors and no complex angles. The Ohio Star is the next step up — still very doable for a first-timer. For a complete list with difficulty ratings, see our beginner barn quilt patterns collection.
Can I use house paint for a barn quilt?
Yes, as long as it is labeled for exterior use. Leftover exterior house paint is a perfectly good (and budget-friendly) choice. Avoid interior paint — it lacks the UV inhibitors and flexibility needed to survive outdoor temperature swings.
How long will my barn quilt last outdoors?
A properly primed, painted, and sealed barn quilt on 3/4-inch exterior plywood should last 10 to 15 years before needing a full repaint. Reapply the sealer coat every two to three years to extend the life of the colors.
Your first barn quilt will not be perfect — and that is perfectly fine. The patterns you see on barn quilt trails were made by people who started exactly where you are now. The process itself is the reward.