I’m excited to show you how I made a barn quilt block. I hope you find this information beneficial.
Step 1: Choose a design
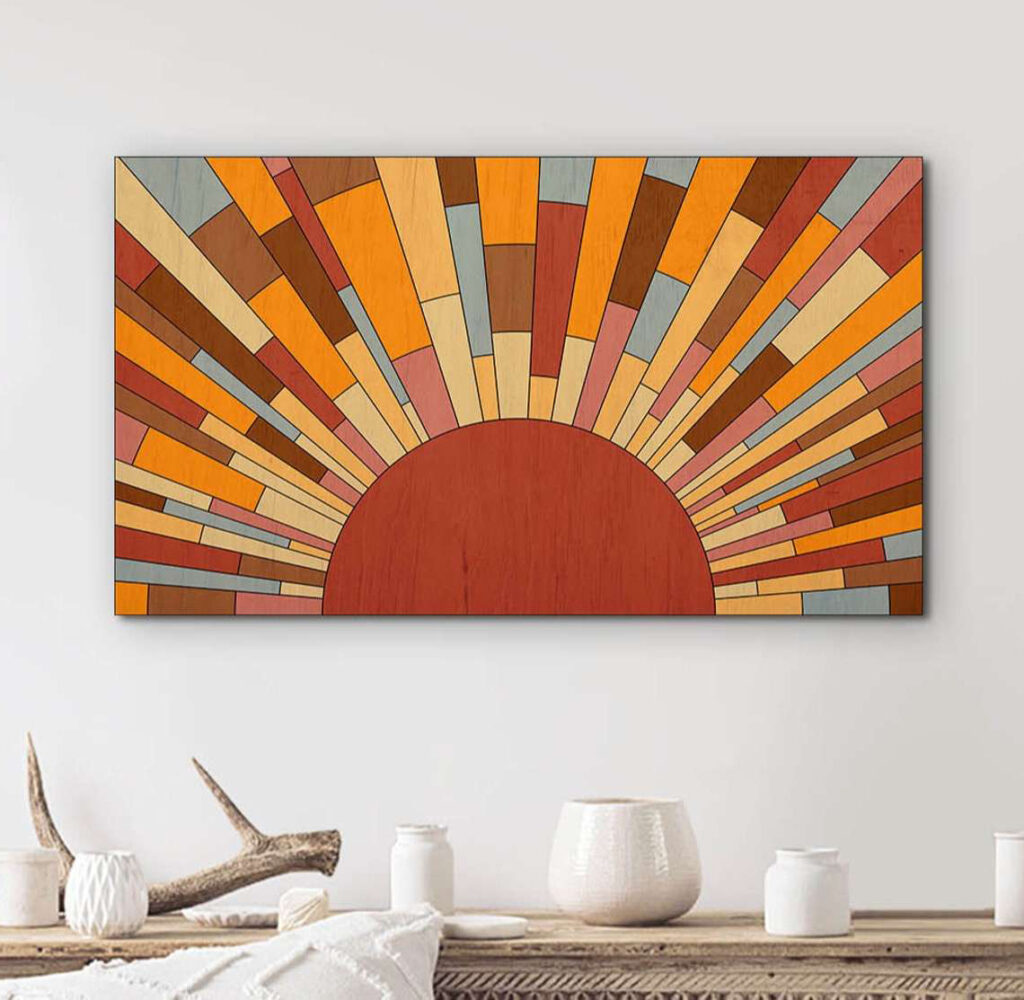
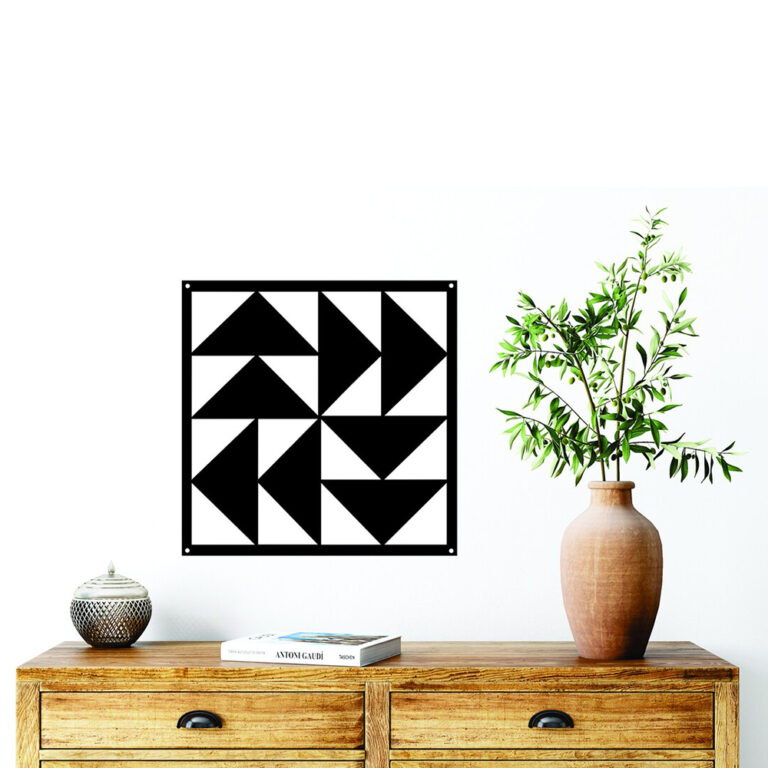
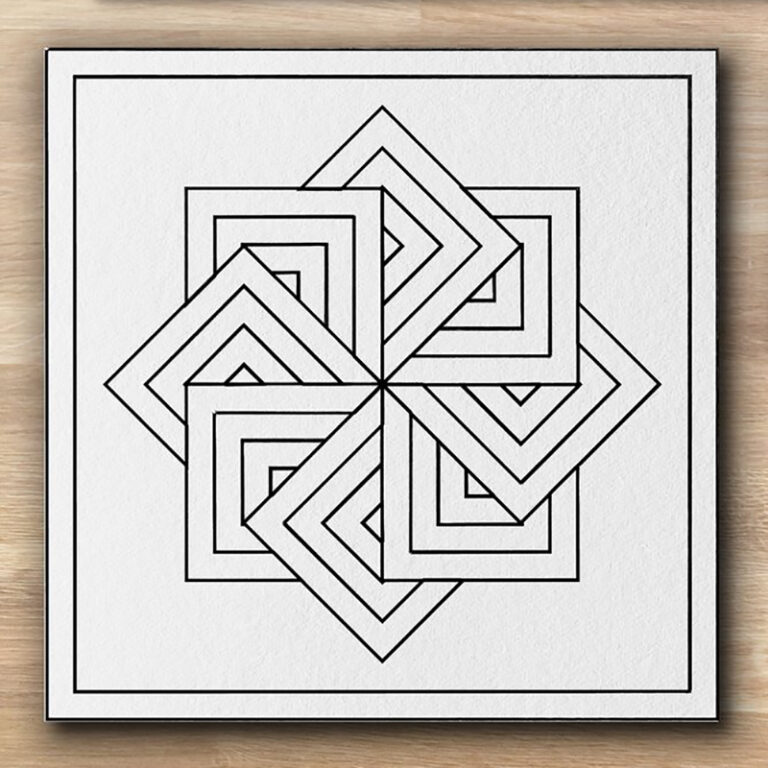
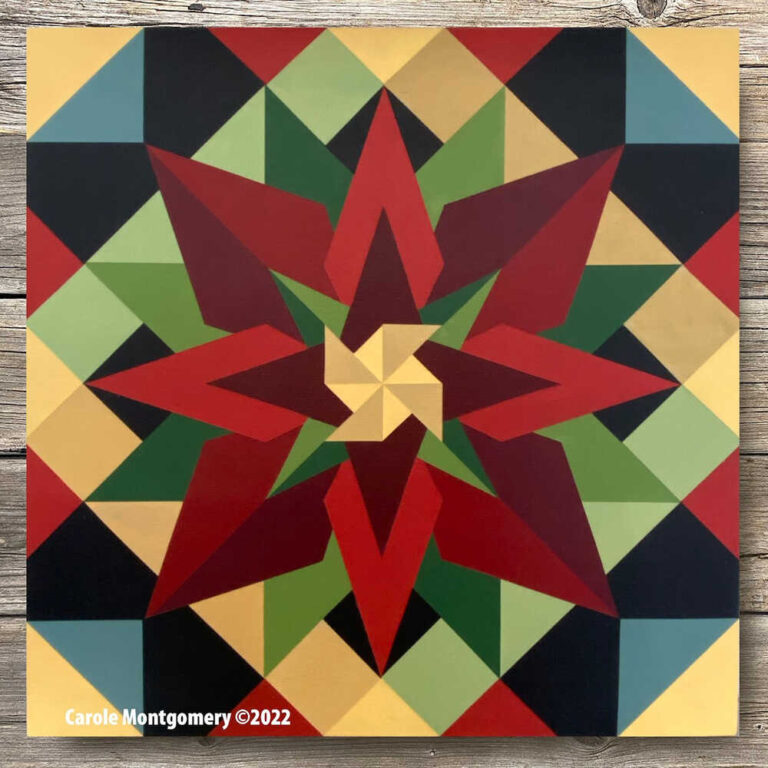
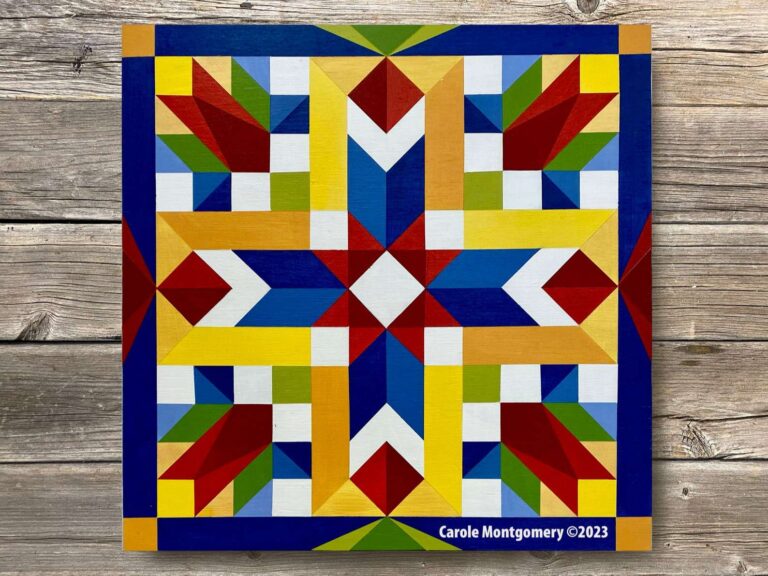
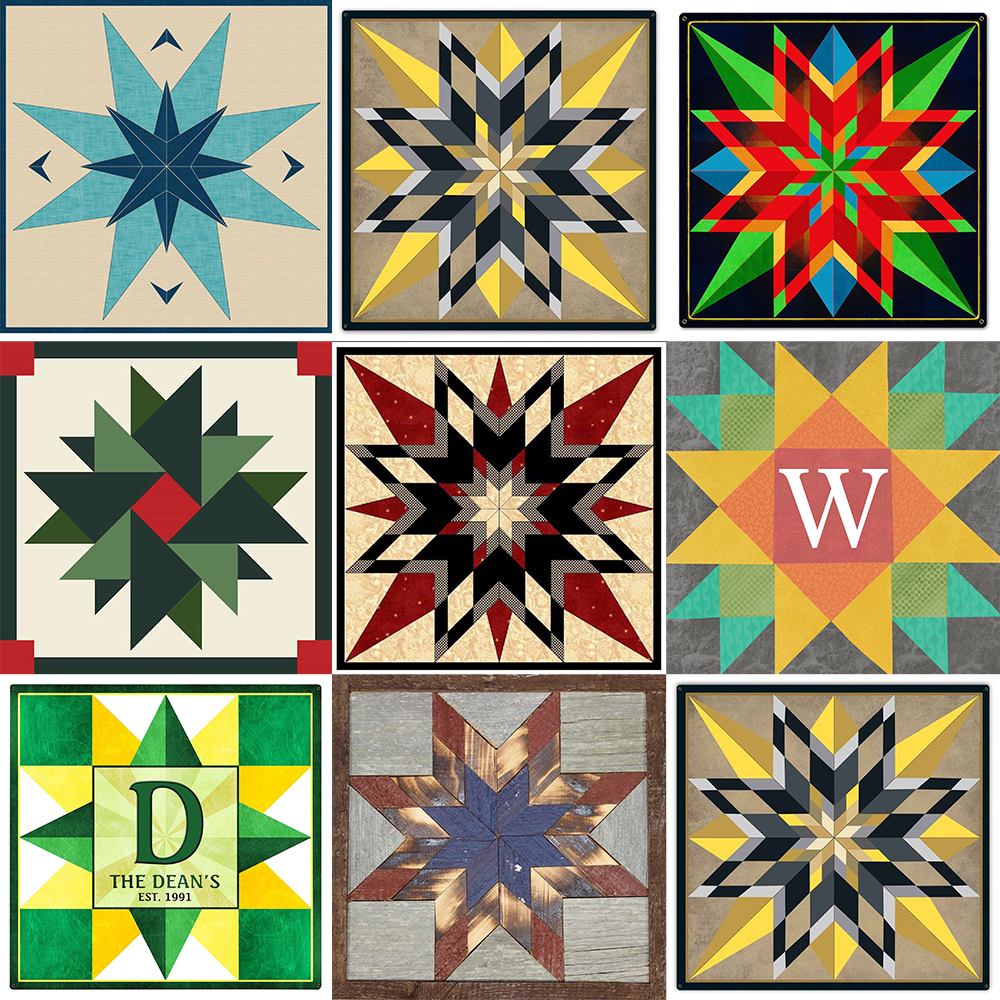
Select a design for your barn quilt block. Look for patterns that are visually appealing and will complement the surrounding area.
Step 2: Determine the size
Measure the surface area where you plan to display the barn quilt block. Decide on the desired size of your quilt block based on these measurements. Common sizes range from 2 ft x 2 ft to 8 ft x 8 ft.

Step 3: Gather the materials
You’ll need the following materials:
Plywood or signboard: Choose a sturdy material that can withstand different weather conditions.
Acrylic or outdoor paint: Opt for colors that will stand out and contrast well with the background.
Brushes and paint trays: Use high-quality brushes suitable for the size of your design.
Measuring tape, pencil, and ruler: These tools will help you accurately draw and measure the pattern on the board.
Painter’s tape or masking tape: This will aid in creating clean and crisp lines.
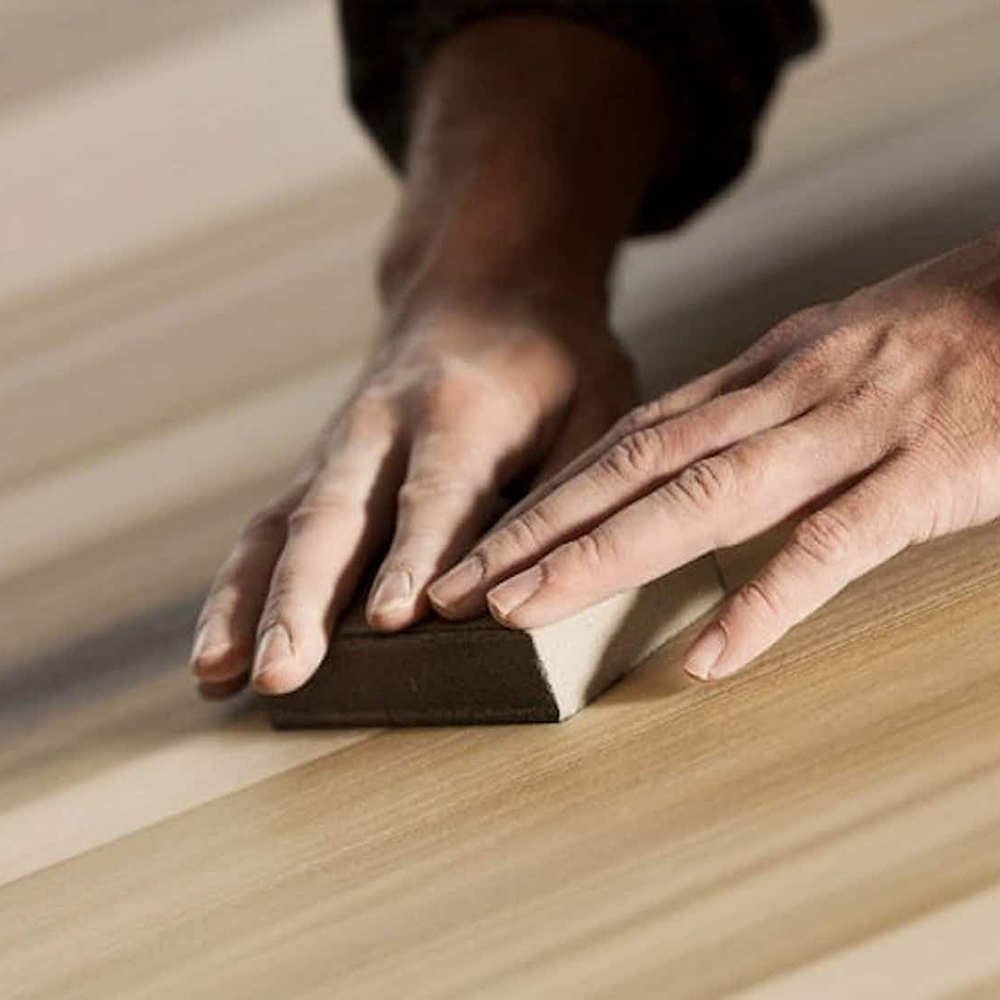
Step 4: Prepare the board
Measure and cut the plywood or signboard to your desired size. Sand the edges and smooth the surface to remove any imperfections.
Step 5: Mark the pattern
Use a pencil and ruler to lightly draw the design on the board. Start by marking the center and work outward, using your measurements and the desired proportions. This step requires patience and accuracy, so take your time to ensure the pattern is evenly spaced and aligned.
Step 6: Apply painter’s tape
Once the pattern is marked, use painter’s tape or masking tape to cover the areas that should remain unpainted. This will create clean lines and prevent colors from bleeding into each other.
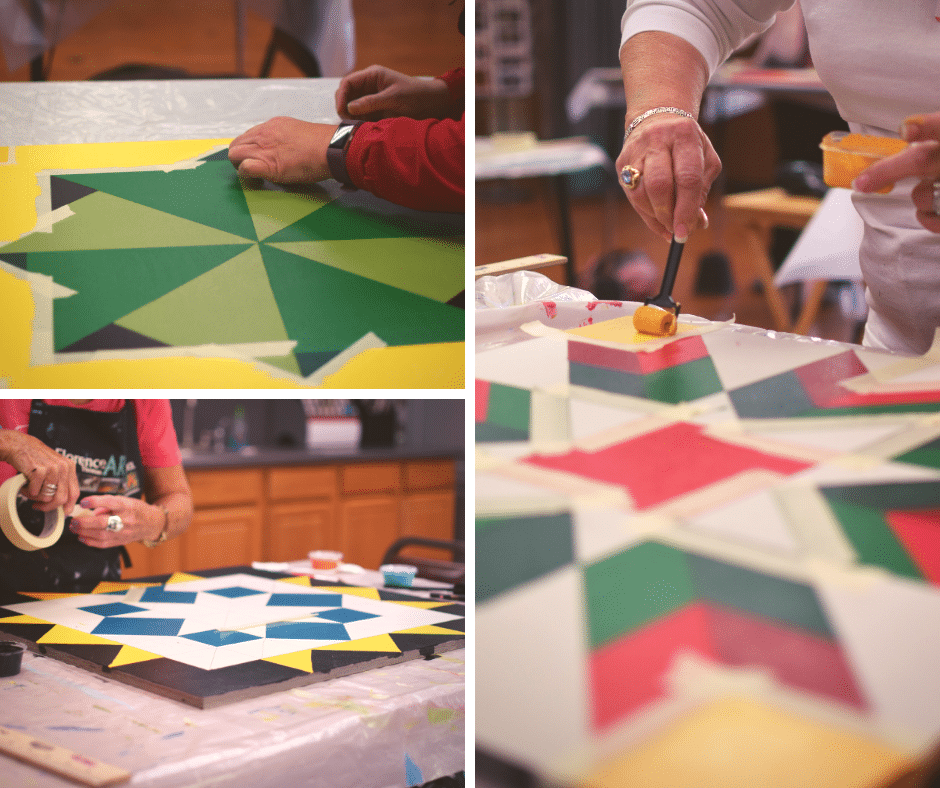
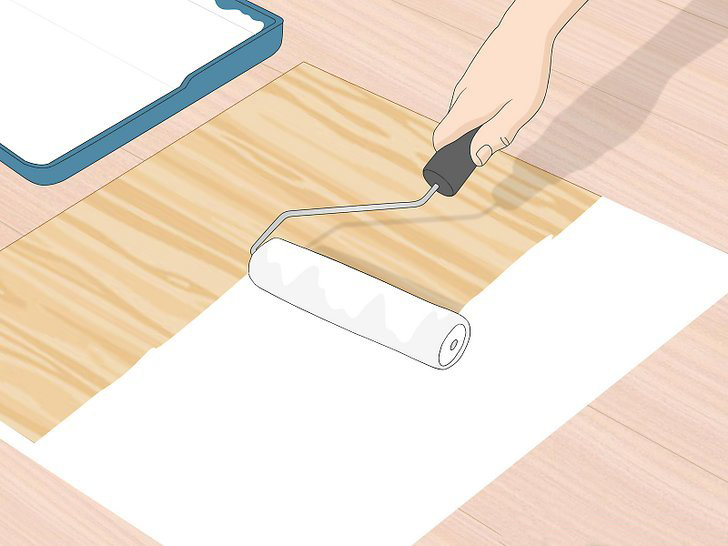
Step 7: Paint the block
Start painting each section of the design with suitable colors, removing the tape after each section is painted. Acrylic paint works well for this purpose, and outdoor paint will ensure longevity and durability. Apply multiple coats if needed, allowing each layer to dry thoroughly before proceeding.
Step 8: Finishing touches
Once the paint has dried completely, inspect your barn quilt block for any touch-ups or smudges. Use a fine brush to correct any imperfections and ensure the design looks crisp and precise.
Step 9: Protect your creation
Apply a clear sealant or varnish to protect your barn quilt block from weather elements. Follow the instructions provided by the manufacturer for best results.
Step 10: Mount the block
Finally, choose a suitable location to display your barn quilt block. Ensure that the surface is clean and appropriately prepared for installation. Securely attach the block using screws or brackets specifically designed for exterior use.